 WOODEN FURNITURE & HOME
Reference-based editorial guide, prepared with AI assistance. Not a Wood Center build or test.
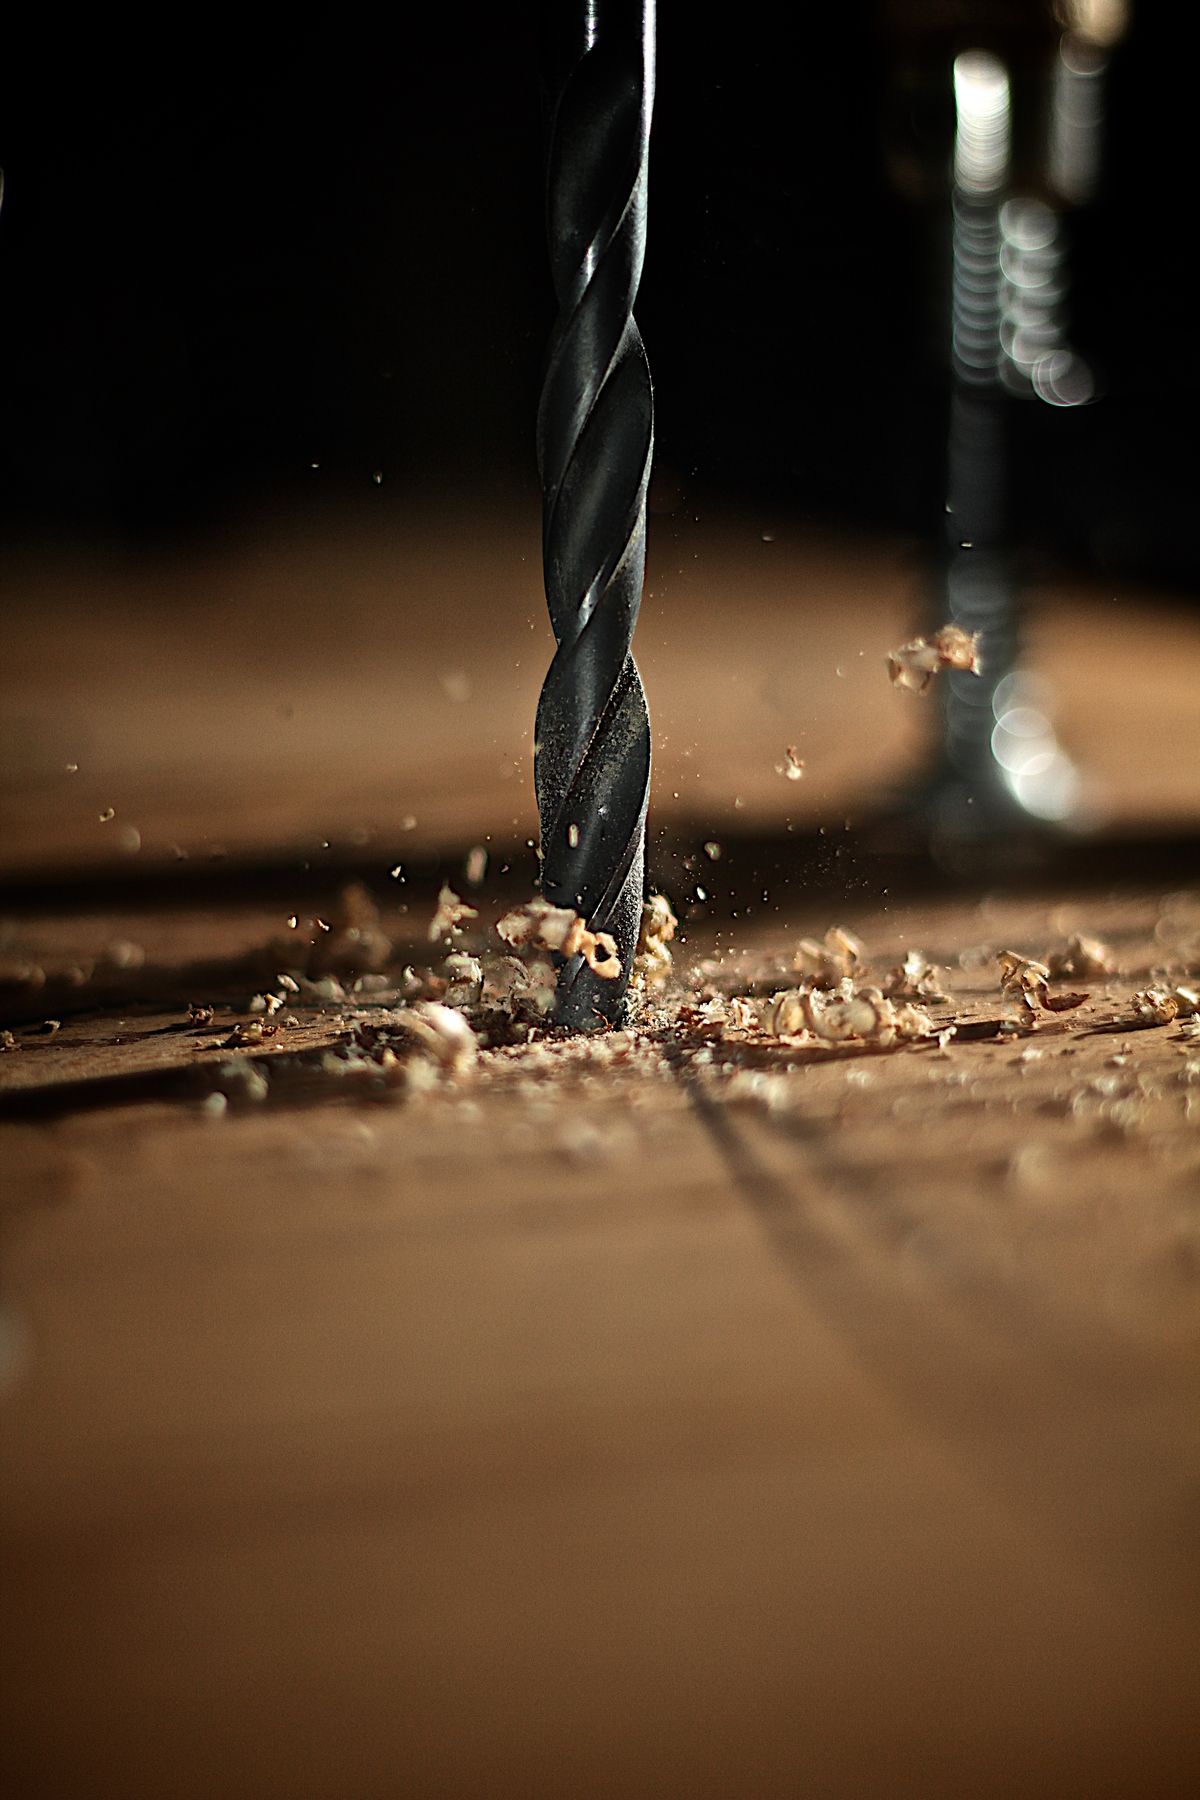
To drill a pilot hole for a wood screw, select a bit suited to the screw and wood, mark the location, clamp the work, and drill to the depth the joint requires. Then drive the screw with a matching driver bit. The important choices are the hole’s diameter, its depth, and whether the top board also needs a clearance hole.
This guide covers ordinary wood-to-wood joints for small home projects. Start with the recommendations for your actual fastener, especially when using a specialized screw.
What you’ll need
- A drill/driver and sharp wood-drilling bits
- Wood screws appropriate for the joint, plus a matching driver bit
- Clamps, a pencil, a ruler or tape measure, and an awl
- A suitable depth stop, or tape for a visible depth marker
- Eye protection and, where appropriate, dust protection
- A countersink bit if the screw head and application call for one
Read your drill’s instructions before starting. Disconnect its power before changing accessories, and secure the boards with clamps rather than relying on a hand to hold them. The Kobalt drill/driver manual explains these precautions; follow the controls and safety instructions for your own model. For the furniture project around this joint, start with our wood furniture planning guide.
Choose the bit for the actual screw and wood
A useful starting point is the screw’s root or core diameter: the solid body between the threads. That is different from the outside diameter across the thread tips. Hold the bit beside the threaded section to compare them, then check the screw maker’s recommended pilot size.
Wood hardness and screw design affect the choice. A recommendation for a modern straight screw may not suit a traditional tapered wood screw, and a hardwood recommendation may differ from a softwood one. The smooth, unthreaded shank is another dimension to consider; don’t assume it equals the core.
McFeely’s drilling guide distinguishes these screw profiles and materials. Use a chart that matches your fastener rather than treating a screw number alone as a complete specification. If uncertain, try the recommended setup on matching scrap before drilling a finished part. For a sheet-goods joint, choose the wood screws for plywood before selecting the pilot bit.
Pilot hole, clearance hole, or countersink?
These features do different jobs in a two-board joint. Making the receiving hole large enough for the whole screw to slide through would remove the grip you need there.
| Feature | Location | Purpose |
|---|---|---|
| Pilot hole | In the receiving board | Creates a path for the screw’s core while leaving wood for its threads to engage. |
| Clearance hole | Through the top board only | Allows the passing part of the screw to move freely so the head can pull the top board against the receiving board. |
| Countersink | At the hole entrance | Makes a tapered seat for a matching flat-head screw. |
Rockler’s screw-driving demonstration shows how a small pilot and a larger top-board clearance hole work together. A countersink is a separate choice: use it only where the head shape and project require that tapered seat. After assembly, a surface blemish around a seated head may call for wood filler or putty suited to the finish; neither restores a failed fixing.
Drill the hole and drive the screw
1. Lay out the joint and mark the center
Arrange the boards as they will sit in the finished project. Check where the screw will enter the receiving board and where its tip would finish. Choose the screw length accordingly. Mark the center with intersecting pencil lines, then make a shallow dent with an awl to help locate the bit. Lowe’s pilot-hole guide illustrates the layout and starting process.
2. Set the depth from the surface where drilling starts
Follow the fastener’s depth guidance and account for the actual assembly. If you drill through the top board into the receiving board, the depth measured from the top surface includes both the top board and the required pilot in the receiving piece. If you drill the receiving piece separately, measure its pilot depth from that piece’s surface.
Check the remaining material at the far face, including room for the bit’s point. A generic instruction to drill “the screw’s length” is not a reason to break through a thin panel. If the specified screw or pilot won’t fit, reconsider the screw and joint.
A tape flag helps you see when to stop, but it can move and offers no physical resistance. Where the far face must remain intact, use a suitable mechanical depth stop and check its setting on scrap.
3. Clamp the boards and drill straight
Clamp the work securely, keeping the intended joint alignment and your hands clear of the drilling and exit paths. Select forward rotation and ordinary drilling mode, with hammer action off. Fit the bit securely, place its tip in the starting dent, and start slowly. For a perpendicular hole, check the drill’s alignment from both directions.
Apply controlled pressure and let the bit cut. Withdraw it straight to clear chips without rocking the hole wider. If it binds, stop and investigate instead of forcing it. Let the tool stop before changing rotation. See Lowe’s drill-use guide for drilling and accessory basics.
4. Add top-board clearance and a countersink if needed
If the screw needs to pass freely through the top piece, mark the boards’ alignment before separating them. Clamp the top board on its own over a sacrificial backing block, then enlarge its hole all the way through to the appropriate clearance size. Leave the receiving board’s pilot untouched. Reassemble the joint using the alignment marks, line up the holes, and clamp it again before driving the screw. For a flat-head screw intended to sit flush, cut a matching countersink at the entrance. Don’t countersink a pan-head screw or alter hardware simply to make its head disappear.
5. Drive the screw with control
Replace the drill bit with the correct driver bit. If your drill has screwdriving mode and an adjustable clutch, start with a conservative setting and adjust as needed for that screw and material. There is no universal clutch number. Drive slowly as the head approaches the surface, stopping when it seats without crushing the wood.
If resistance rises sharply before the head seats, stop rather than adding force. Check the pilot’s size and depth, the clearance through the top piece, and whether the screw has encountered an obstruction. The Kobalt manual’s torque section explains why the setting depends on the fastener, bit, and material.
If the wood splits or the boards won’t pull together
| Problem | What to check before continuing |
|---|---|
| The bit wanders | Recheck the center mark, starting dent, and drill alignment. |
| The screw binds | Check the recommended pilot diameter and depth; don’t force it deeper. |
| A gap remains between boards | Check alignment and whether threads are gripping the top board instead of passing freely. |
| The wood splits | Stop using the damaged joint. Reassess the screw, hole, location, and material before remaking it. |
| The screw spins without tightening | Check for stripped wood or an oversized receiving hole. More driving won’t restore thread grip. |
A pilot hole does not make an unsuitable screw or joint adequate for a load. If the connection has failed, compare epoxy and wood glue as part of the repair plan before hiding the damage.
Do self-drilling screws still need pilot holes?
Some wood screws are designed for installation without predrilling in specified materials. That doesn’t make every screw suitable for every board without a pilot. SPAX’s technical lexicon, for example, makes its no-predrilling guidance wood-dependent and recommends predrilling for very hard woods.
For your project, check the exact screw’s instructions alongside the wood and joint layout. If you cannot identify the fastener or its requirements, resolve that before drilling the finished furniture part. Explore more wooden furniture, care and home project guides at Wood Center. A small wood tray shows a separate hardware case: its handle holes depend on whether the handle uses machine screws or screws driven into wood.