WOODEN FURNITURE & HOME
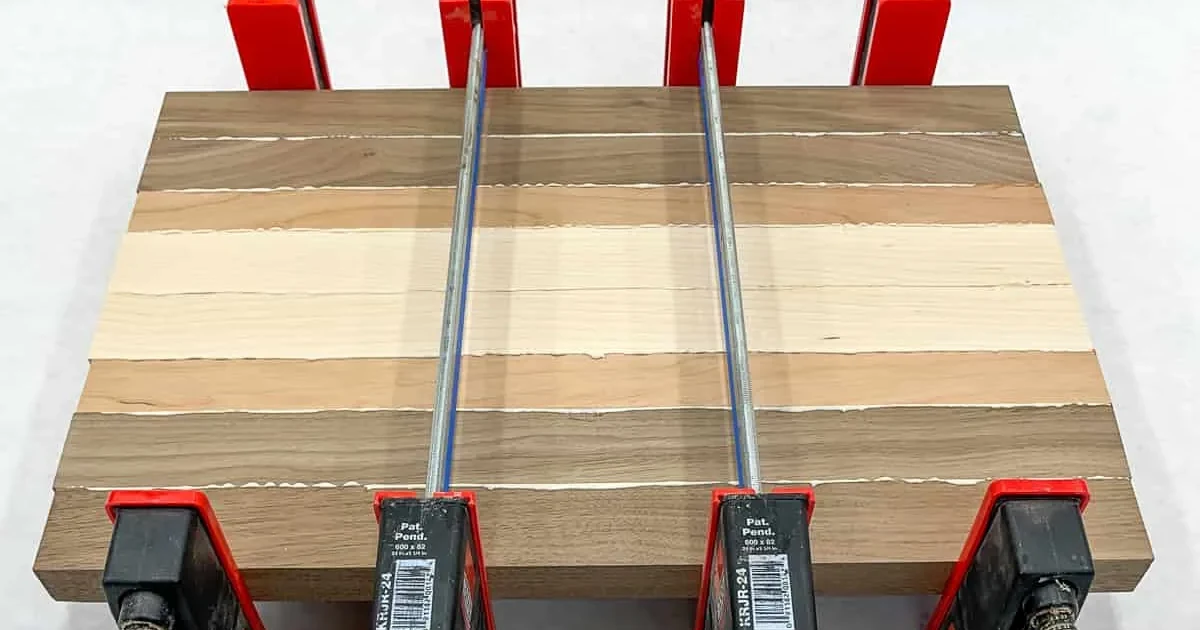
For epoxy vs wood glue, start with how the joint fits: ordinary wood glue suits closely fitted wood-to-wood joints, while an epoxy bonding system with the specified filler can accommodate gaps. Water exposure and working time then narrow the product choice. A loose furniture joint needs a repair plan before it needs a bottle of glue.
Here, “wood glue” means the familiar ready-to-use woodworking glues, including PVA, or polyvinyl acetate, formulas. Wood adhesives also include other chemistries, each with its own instructions.
Choose wood glue or epoxy around the joint
A cleanly fitting picture-frame corner and an irregular broken edge present different glue lines. Before buying either adhesive, put the parts together without glue and inspect where they touch. That dry fit gives you a more useful starting point than a claim about which glue is strongest.
| What the joint needs | Starting choice | What to check |
|---|---|---|
| Closely fitted wood surfaces | Ready-to-use wood glue | The product’s assembly window and clamping directions |
| A gap between sound mating surfaces | Epoxy approved for bonding, with the specified filler if needed | Surface preparation, filler choice, and repair limits |
| Exposure to damp conditions | A product rated for that exposure | The exact formula, rather than the broad glue family |
| Time to align several parts | A product with sufficient working time | Temperature and assembly requirements |
Titebond Original, for example, calls for enough clamping pressure to bring the joints tightly together. That makes it a useful reference for a close-fitting glue-up, without turning it into a recommendation for every furniture repair.
The furniture care and makeover guide helps separate surface touch-ups from failed joints before you choose a repair material.
Epoxy needs a bonding system suited to the gap
For irregular mating surfaces, the epoxy system matters as much as the word “epoxy.” WEST SYSTEM’s bonding instructions specify a suitable filler for bridging gaps, making filler selection part of the repair plan.
The two containers below show the separate components of a resin system. The blue resin and wood pieces illustrate appearance.
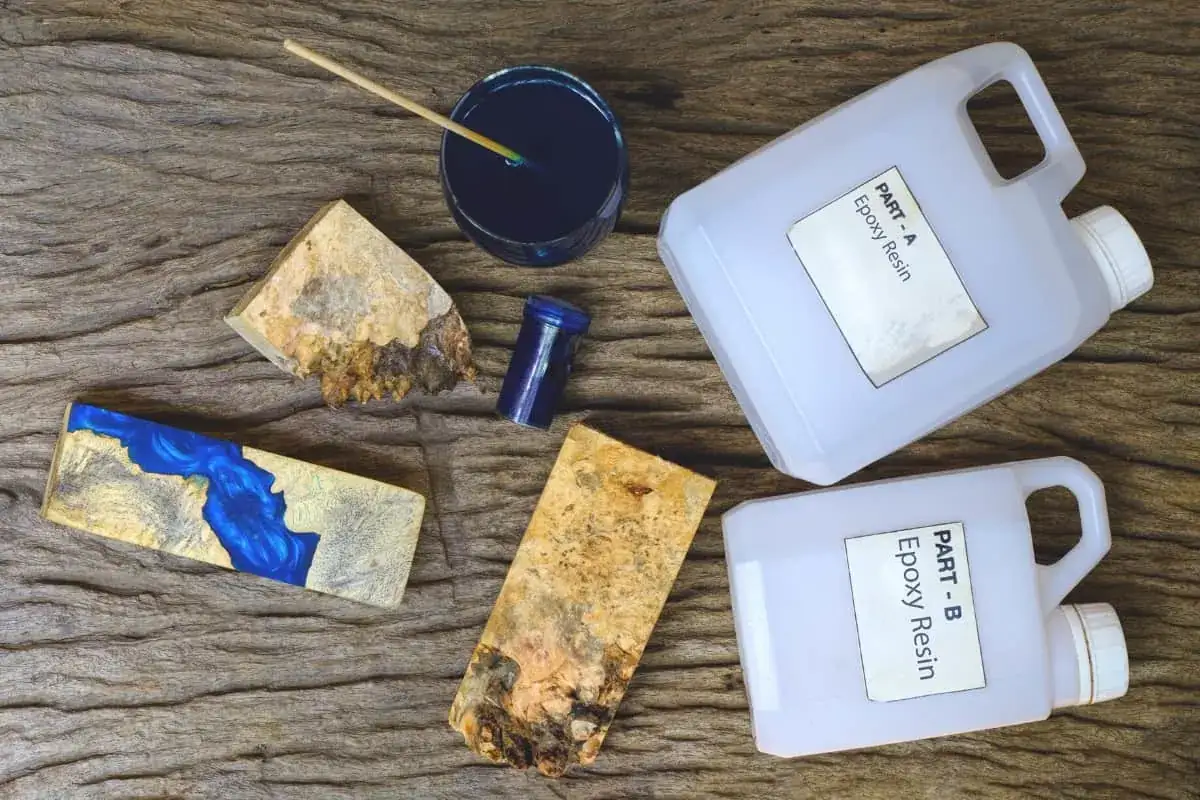
In its two-step method, WEST SYSTEM wets the surfaces with unfilled mixed epoxy before adding thickened epoxy. It then calls for enough clamp pressure to produce a small squeeze-out, while avoiding pressure that forces the mixture out of the joint. See the manufacturer’s bonding and clamping instructions for that complete method.
Joint strength also depends on surface preparation and enough bonded area for the load. Assess both before treating the opening as a simple filling job.
A shallow dent is a different job again. The guide to wood filler and wood putty explains surface repair choices and why a cosmetic patch shouldn’t stand in for a joint repair.
Water resistance belongs to the exact wood glue
Joint fit settles only part of the choice: moisture can rule out an otherwise convenient glue. Titebond Original is specified for indoor use where moisture isn’t likely; its manufacturer directs exterior users toward Titebond II or III.
The bottles below carry different water-related labels even though both are woodworking glues. Read the current instructions for the bottle you plan to use.
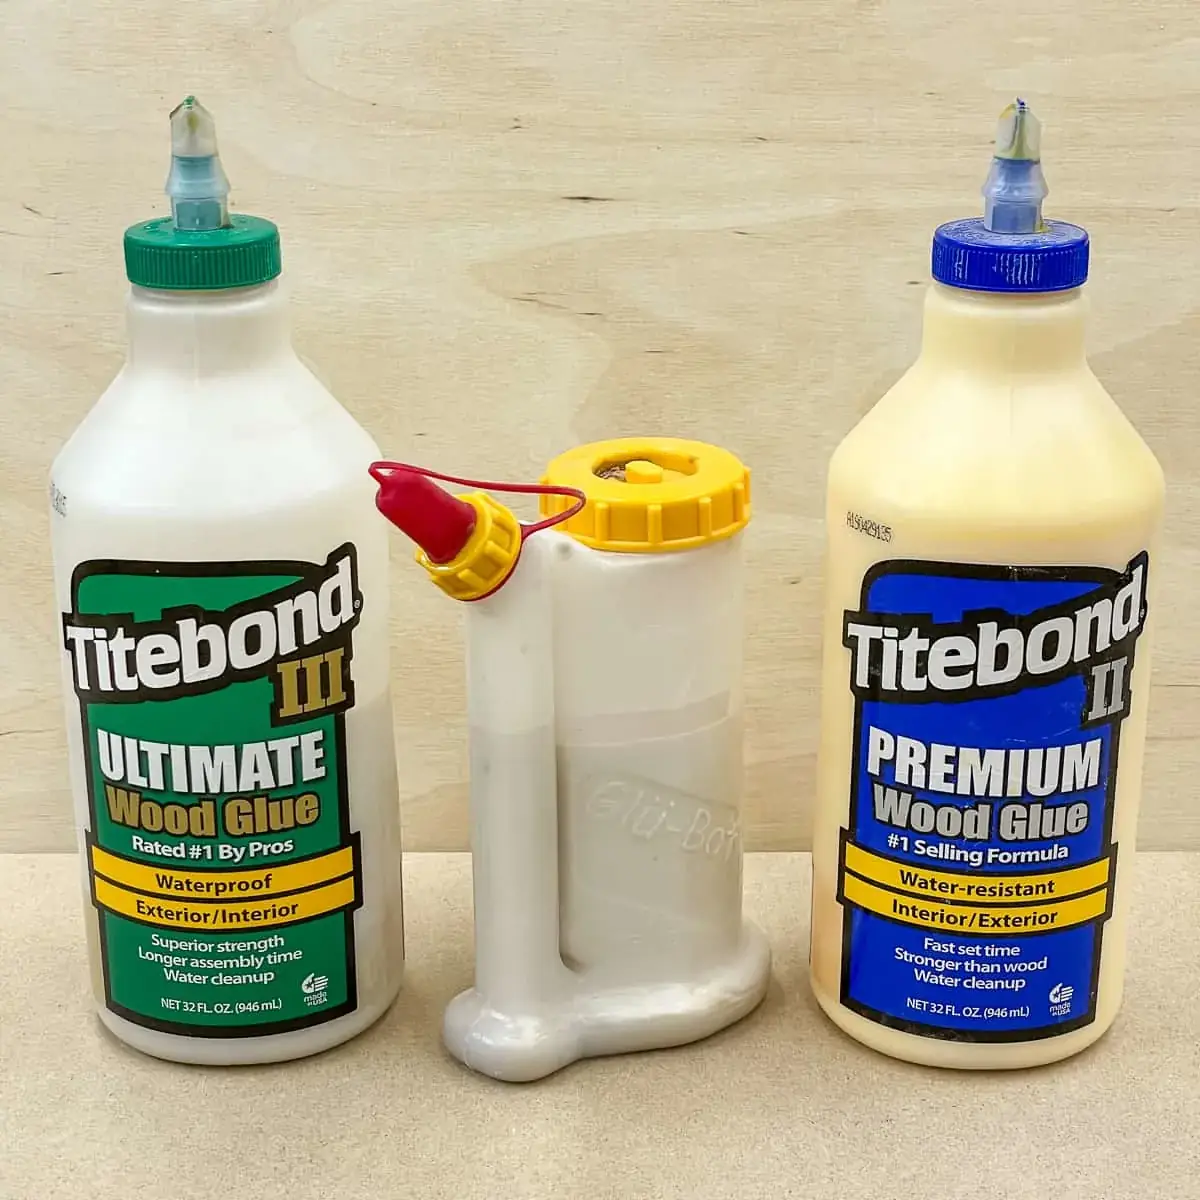
Titebond’s FAQ distinguishes the ANSI/HPVA Type I and Type II water-resistance tests: Type I uses a more demanding test procedure. Those labels describe tested products, not every glue that looks similar.
For an outdoor repair, write down the actual exposure before comparing labels. Occasional splashes, rain, and standing water are different situations. Look for an explicit match in the adhesive’s instructions instead of assuming that either “wood glue” or “epoxy” answers the water question. A wood tray is another reminder to check the intended use: its guide separates spill cleanup from soaking or direct food contact.
Assembly time and cure time answer different questions
After checking exposure, check whether you can finish the glue-up within the product’s working window. Spread glue, bring the faces together, align the parts, and place the clamps during the permitted assembly period.
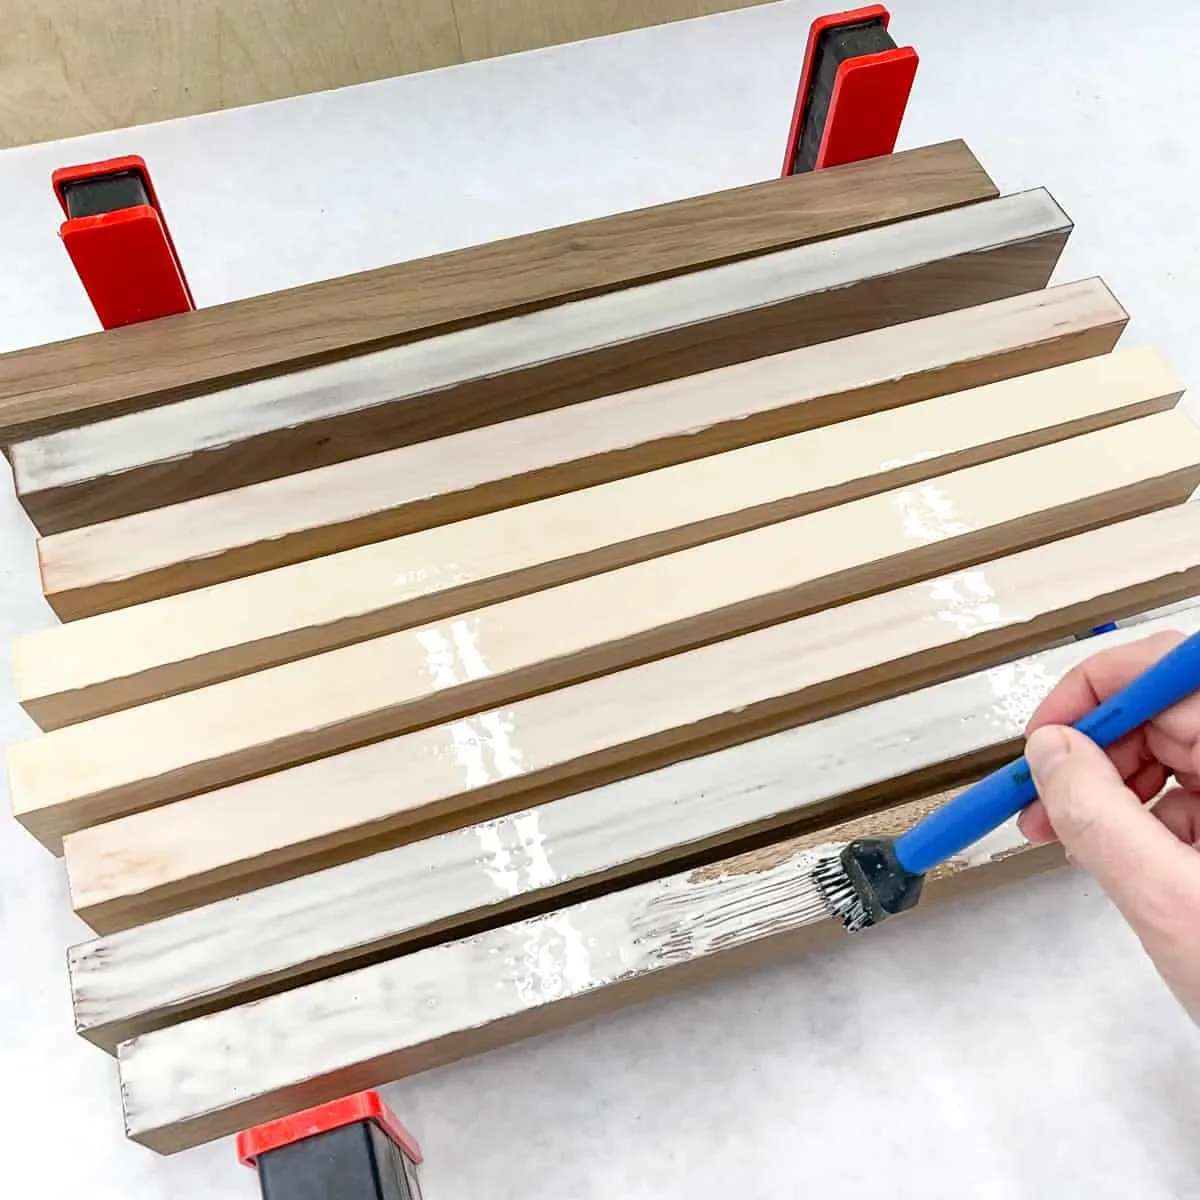
For Titebond Original, the listed open assembly time is 4–6 minutes and total assembly time is 10–15 minutes at 70°F and 50% relative humidity. Those figures describe that product under those conditions; they aren’t drying times for the II and III bottles pictured above.
Epoxy adds a mixing stage. WEST SYSTEM explains that the hardener and the temperature affect its working and cure times. The mixed batch also heats as it reacts, so a cup of epoxy and a thin layer don’t necessarily give you the same working period.
Use the selected resin-and-hardener instructions for the mixing ratio and timing. Don’t borrow a ratio from another kit.
For either adhesive, being ready to remove clamps and being ready to put a joint under stress are separate checks. Titebond’s general guidance, for example, says not to stress a new joint for at least 24 hours. Once the repair is ready for surface work, the sanding guide covers controlled removal and cleanup before finishing.
Check the wood glue or epoxy label against the repair
At the bench, keep the choice specific. A close-fitting wood joint points toward wood glue; a gap points toward investigating a suitable epoxy bonding system. Neither choice cancels the need to check the wood, the joint, and the product limitations. For a plywood border, the edge finishing guide compares a glued solid strip with thin banding and a filled painted edge.
Before committing, confirm these points on the chosen product:
- The intended surfaces and exposure are covered.
- The joint can be prepared as the manufacturer requires.
- The assembly window leaves time to position every part.
- The curing instructions fit when the piece will return to use.
- Any gap, filler, or mixing requirement is addressed explicitly.
When the joint repair is planned, Wood Center has more ideas for caring for wooden furniture and working it into your home.