WOODEN FURNITURE & HOME
Reference-based editorial guide, prepared with AI assistance. Not a Wood Center build or test.
To sand wood, start with an abrasive that removes the surface defects without cutting more deeply than necessary. Work evenly across the board, remove the scratches from each grit with a finer one, and stop at the grit recommended for your finish. Clean away the dust before applying stain, paint, or a clear coat.
This guide covers bare wood for small furniture and home projects. A shelf or tray needs an even surface and clean edges; making the wood feel silky with very fine paper is not always the right preparation for its coating.
Gather the sanding tools and check the wood
Have the coating instructions beside you before selecting sandpaper. The intended finish helps determine where the sanding should end. The furniture care and makeover guide puts that preparation in the wider repair decision.
- Sandpaper in a suitable sequence of grits
- A flat sanding block, plus a flexible sponge for shaped areas if needed
- A random orbital sander and matching discs for larger flat surfaces, if using one
- Clamps or a suitable nonslip support, a pencil, and a light for inspecting scratches
- Compatible dust extraction, cleanup supplies, eye protection, and respiratory and hearing protection appropriate to the work and equipment
Inspect for loose splinters, metal, glue residue, and damage before sanding. Identify whether the surface is solid wood or a thin veneer over a panel. A deep defect in veneer cannot safely be treated like a deep defect in a thick solid board. A loose joint needs a separate adhesive repair decision; the epoxy versus wood glue guide starts with joint fit.
For previously painted or unidentified reclaimed material, identify the coating and any hazards before making dust. Old paint may contain lead; the EPA’s lead-safe DIY guidance explains why ordinary sanding is not the starting point for suspect painted surfaces.
Choose a starting grit and a finish-specific stopping point
Lower grit numbers cut more aggressively; higher numbers leave finer scratches. Use the least aggressive paper that can do the preparation your board needs. Starting too coarse adds scratches that must be removed later.
| Surface or task | How to choose the abrasive |
|---|---|
| Solid wood with machining marks | Choose a starting grit capable of removing the marks, then work through finer grades. Norton gives 80 grit as a typical starting point for planed or shaped bare wood; it is not a requirement for every board. |
| Already smooth bare wood | Skip unnecessary coarse sanding. Inspect the surface and use the preparation schedule for your chosen coating. |
| Veneered plywood or furniture | Check the panel supplier’s advice. Keep removal light and avoid using coarse paper to chase deep damage through the face veneer. |
| Between coats of finish | Use the coating’s drying and sanding instructions. This is a different task from leveling bare wood. |
Norton’s bare-wood guide describes working from defect removal toward finer sanding. A possible solid-wood sequence is 80 → 120 → 150 → 180, but only where those stages suit the board and the finish. A smoother starting board may not need the first grades, and the coating may call for an earlier stopping point.
For example, General Finishes Oil Based Gel Stain specifies 120 grit followed by 150 grit on raw wood. Taking that surface automatically to 220 would depart from its instructions. Test the complete preparation and finish on an offcut of the same material before committing the visible furniture parts. If the surface needs a patch first, compare wood filler and putty before choosing a product to sand flush.
Sand bare wood in controlled stages
The working sequence is to secure and mark the board, sand its faces, refine the scratches, and then handle its edges and final cleanup. Use hand sanding, a random orbital sander, or both according to the surface.
1. Secure the board and set up dust collection
Support the work so it cannot slide or rock, with clamps positioned clear of the sanding path. Connect compatible extraction when power sanding and fit the abrasive as the tool requires, including aligning extraction holes where applicable. Disconnect power or remove the battery before changing accessories, following the sander’s manual.
Use extraction alongside the protective equipment specified for the work. A hose in a photograph does not establish filtration performance or show a complete dust-control arrangement.
2. Mark the surface lightly and inspect the defects
On bare solid wood, a few light pencil marks can help you track where the abrasive has passed. Mark lightly enough to remove the marks without digging into the wood. Also identify the machining scratches you actually need to remove; disappearing pencil alone does not prove that those scratches are gone.
3. Sand the flat faces by hand or with a random orbital sander
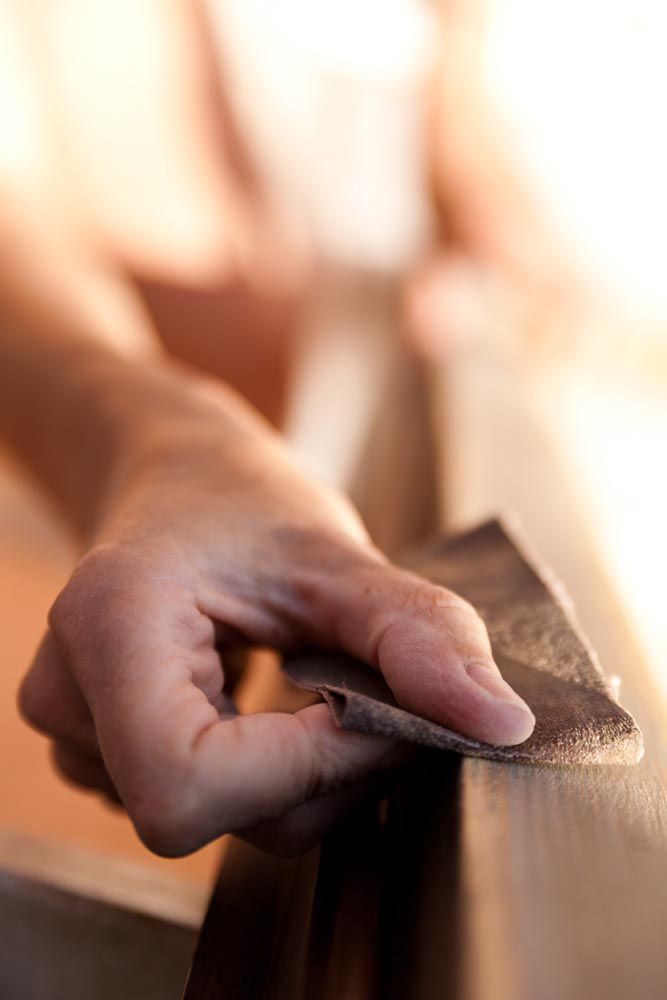
By hand: wrap paper around a flat block and work along the wood grain with even pressure. Cover the face rather than rubbing one small patch repeatedly. A block supports the abrasive across a flat area; a flexible sponge is more useful where the surface is curved. Norton’s hand-sanding guide explains the grain direction and block choice.
With a random orbital sander: keep the pad level and move in overlapping passes across the supported surface. Avoid tipping the pad to attack a mark or bearing down to speed up removal. Read your model’s instructions for starting, stopping, speed, and pressure; those details are not interchangeable across every sander.
The Bosch 3725DEVS/3727DEVS manual, for example, describes overlapping strokes along the grain and warns against extra pressure and tilting near edges. That manual is a technique reference, not an identification of the model in these photographs.
4. Remove dust and work through finer grits
Pause, remove loose dust, and inspect the face with light falling across it. When the defects targeted by that grit are gone, change to the next suitable finer abrasive. Sand evenly until its finer scratch pattern replaces the previous one, then inspect again. Follow the finish’s preparation sequence rather than jumping directly from coarse paper to the final grade.
If a deep scratch remains, finer paper may only polish the area around it. Reassess the defect and material before going coarser, especially on veneer. Replace worn or clogged paper when it stops cutting properly instead of compensating with more force.
5. Finish edges, corners, and end grain with care
Use hand control on narrow edges and profiles where the power-sander pad cannot stay supported. Follow the intended shape: keep a square edge square unless the project calls for easing it. On a shaped profile, use an abrasive that follows the curve without flattening its details.
End grain is the cut end of the fibers, rather than the long face of the board. Inspect it separately for cutting marks, and check the stain or finish on a matching offcut that includes an end. Any different end-grain preparation should come from that finish’s guidance and the sample result, not an assumed universal extra grit.
6. Clean the surface and check it before finishing
Remove sanding dust from the faces, corners, and joints. Use the cleaning method your coating allows, and let any permitted damp cleaning dry fully before coating. Avoid leaving residues from an incompatible cloth or cleaner.
Check the prepared wood under angled light for remaining scratches and uneven areas, and compare its final grit with the product instructions. Keep the surface clean while preparing the finish. If the coating requires grain raising or sanding between coats, follow that separate procedure at the stated stage.
Fix sanding problems before coating the wood
| What you notice | What to check next |
|---|---|
| Swirls or small curled scratches | Look for debris or loaded abrasive; check pad condition and technique before repeating the appropriate stage. |
| Scratches remain after fine sanding | Recheck whether the earlier scratches were removed before moving finer. |
| An edge is becoming rounded | Stop power sanding that edge. Reassess pad support and switch to controlled hand work. |
| The veneer face is changing color or showing its core | Stop removal. Sanding further cannot put the face veneer back. |
| The surface feels smooth but the sample stains unevenly | Check preparation, glue contamination, wood variation, and the stain’s instructions before coating the project. |
Do you need an electric sander for a small wood project?
A sanding block is enough for a small tray, a few narrow parts, or areas requiring close control. A random orbital sander can reduce the work on larger flat faces, while edges and details may still need hand sanding. Choose for the shape and amount of work rather than assuming a powered tool is necessary.
Before finishing, the useful stopping point is an evenly prepared surface that meets the coating’s instructions. Keep the offcut with the project: it gives you a place to check the next finishing step before touching the visible piece. Explore more wooden furniture, care and home project guides at Wood Center. For exposed panel edges, compare plywood edge finishing methods before sanding away material that banding or trim may cover.