WOODEN FURNITURE & HOME
Choosing plywood thickness for shelves takes more than picking the thickest sheet on the rack. Match the panel to its unsupported span, intended contents and support arrangement, then check its actual thickness. A published shoe-shelf project can offer a useful material example, but it can’t set the thickness for a book-filled shelf in a different opening.
Start with the plywood shelf opening and its contents
Write down what the shelf will hold before choosing plywood.
A row of books, a few shoes and one heavy object create different design questions, even when the shelf looks the same from the doorway.
Be specific about the contents. Include where they will sit in the plan, so a description such as “general storage” becomes a useful brief for the person choosing the board and checking its supports.
Measure the clear span between supports and the shelf’s front-to-back depth.
Keep the two dimensions separate. Sketch where each support sits, too, so that the panel size and the support layout describe the same shelf.
The thickness decision belongs alongside the rest of the storage layout. The small-space storage guide places shelving within that wider plan, where access and the available opening matter as well as the board itself.
Use actual plywood thickness in a sag estimate
Once the opening is defined, measure the panel you intend to use.
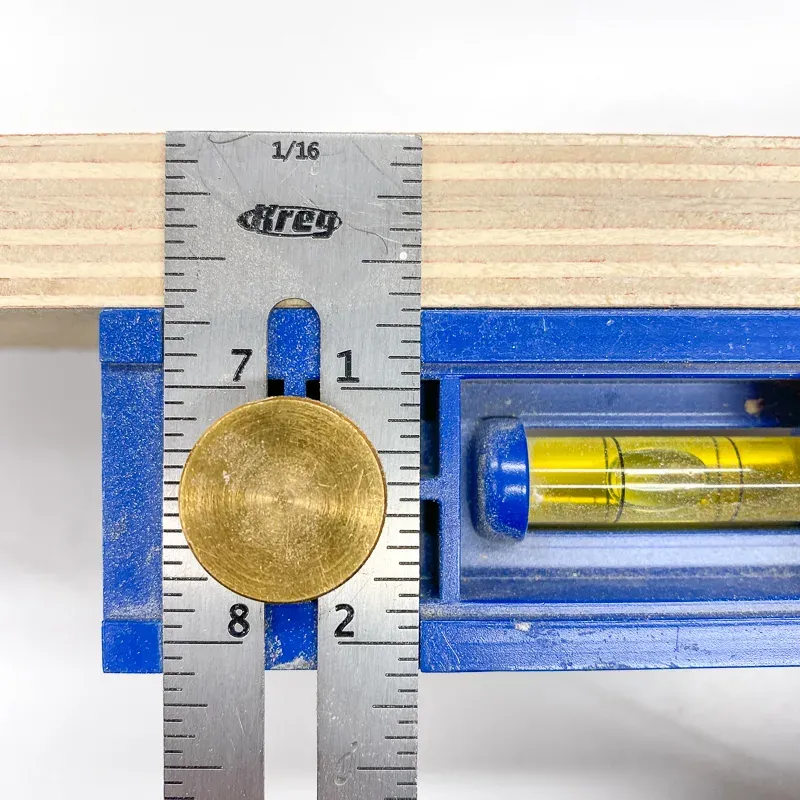
Read the panel, then the label. Nominal thickness identifies the sheet size sold at the store, while WoodBin’s Sagulator calls for actual thickness in its thickness field.
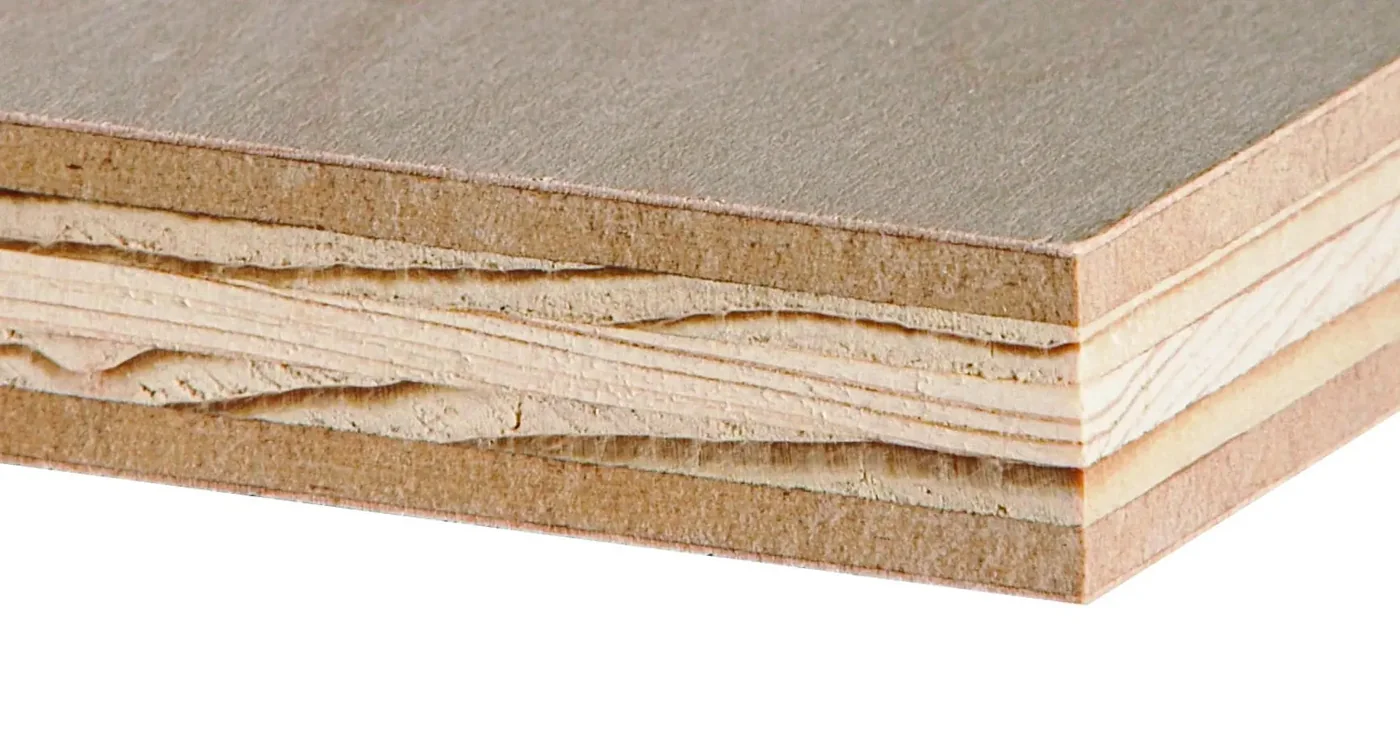
Check the core as well as its size. Columbia Forest Products describes Classic Core as a combination core with thin MDF crossbands near the outer faces.
Keep the maker’s product details with your measurements, so that you can identify the panel by its actual spec rather than trying to work out its grade or core from the layers visible in a photograph.
For an existing shelf, measure the panel separately from any attached trim; a tall front strip may hide the edge of a much thinner sheet.
Model the support the plywood shelf actually has
With the panel identified, return to the support sketch. The side cleat pictured below provides a bearing surface along the wall, making its position part of the shelf plan alongside the chosen panel thickness.
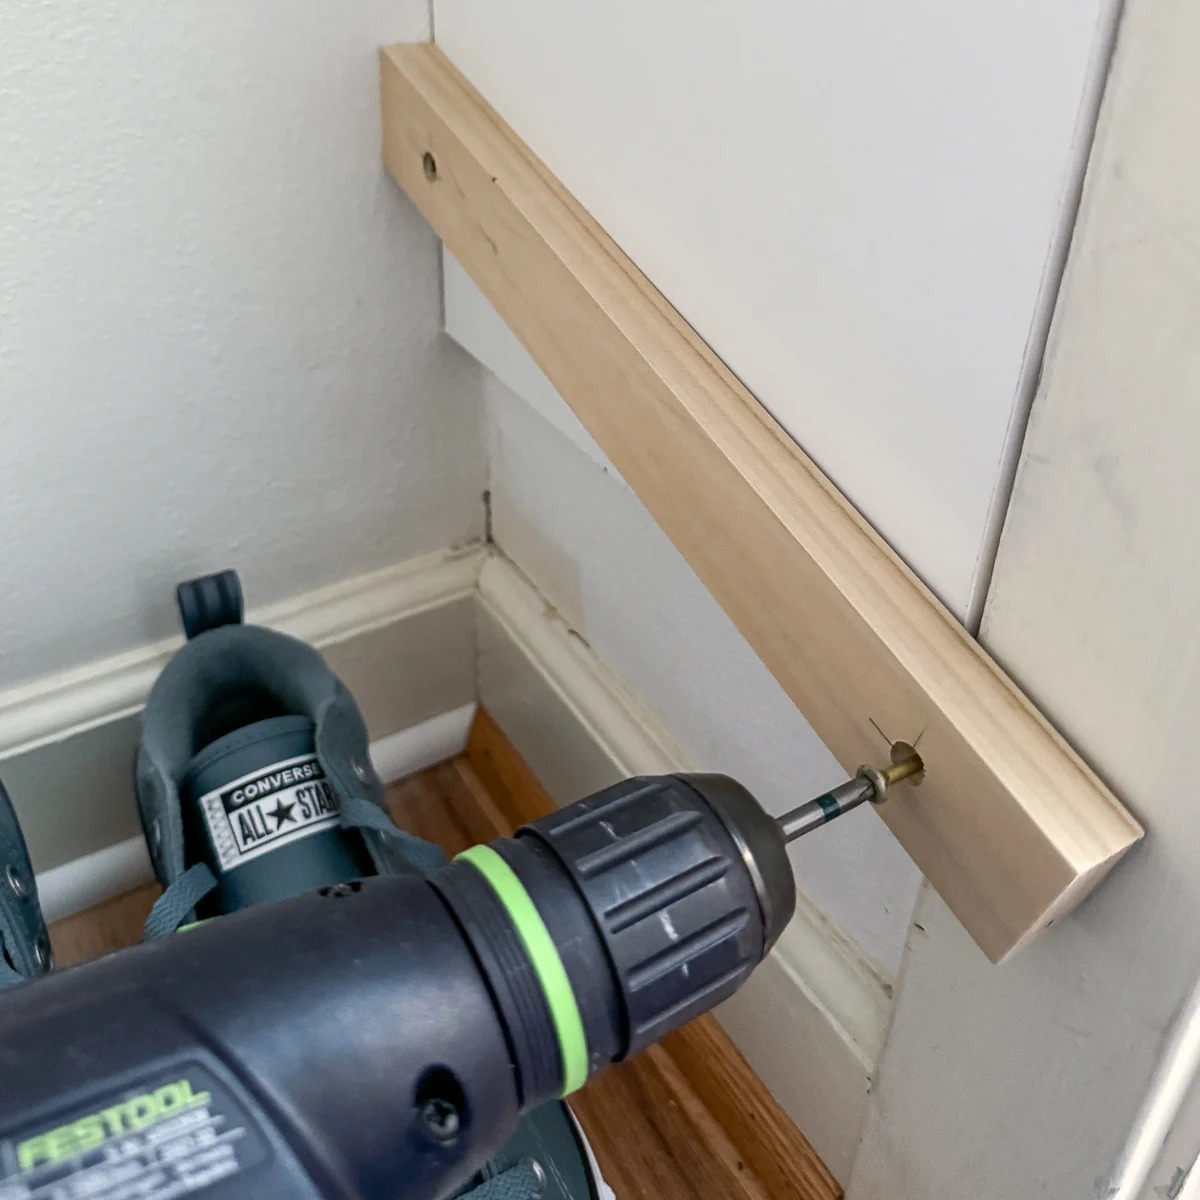
In WoodBin’s calculator, the attachment choices distinguish a shelf fixed to its sides from one resting without that attachment.
Read “floating” in that context. The label describes the second condition; a wall shelf with concealed brackets needs a model suited to those supports.
WoodBin also separates a distributed load from a load at the center.
Record where the contents will sit. Keep that input the same when comparing panel thicknesses, so you can see the effect of changing the board.
Read the shoe-shelf example without borrowing a load rating
The shelf photographs show why the panel and the front edge need separate descriptions. The Handyman’s Daughter specifies nominal 3/4-inch plywood for the pictured shoe-shelf project.
The raised lips retain shoes on the sloping shelves, while the plywood panel sits behind them.
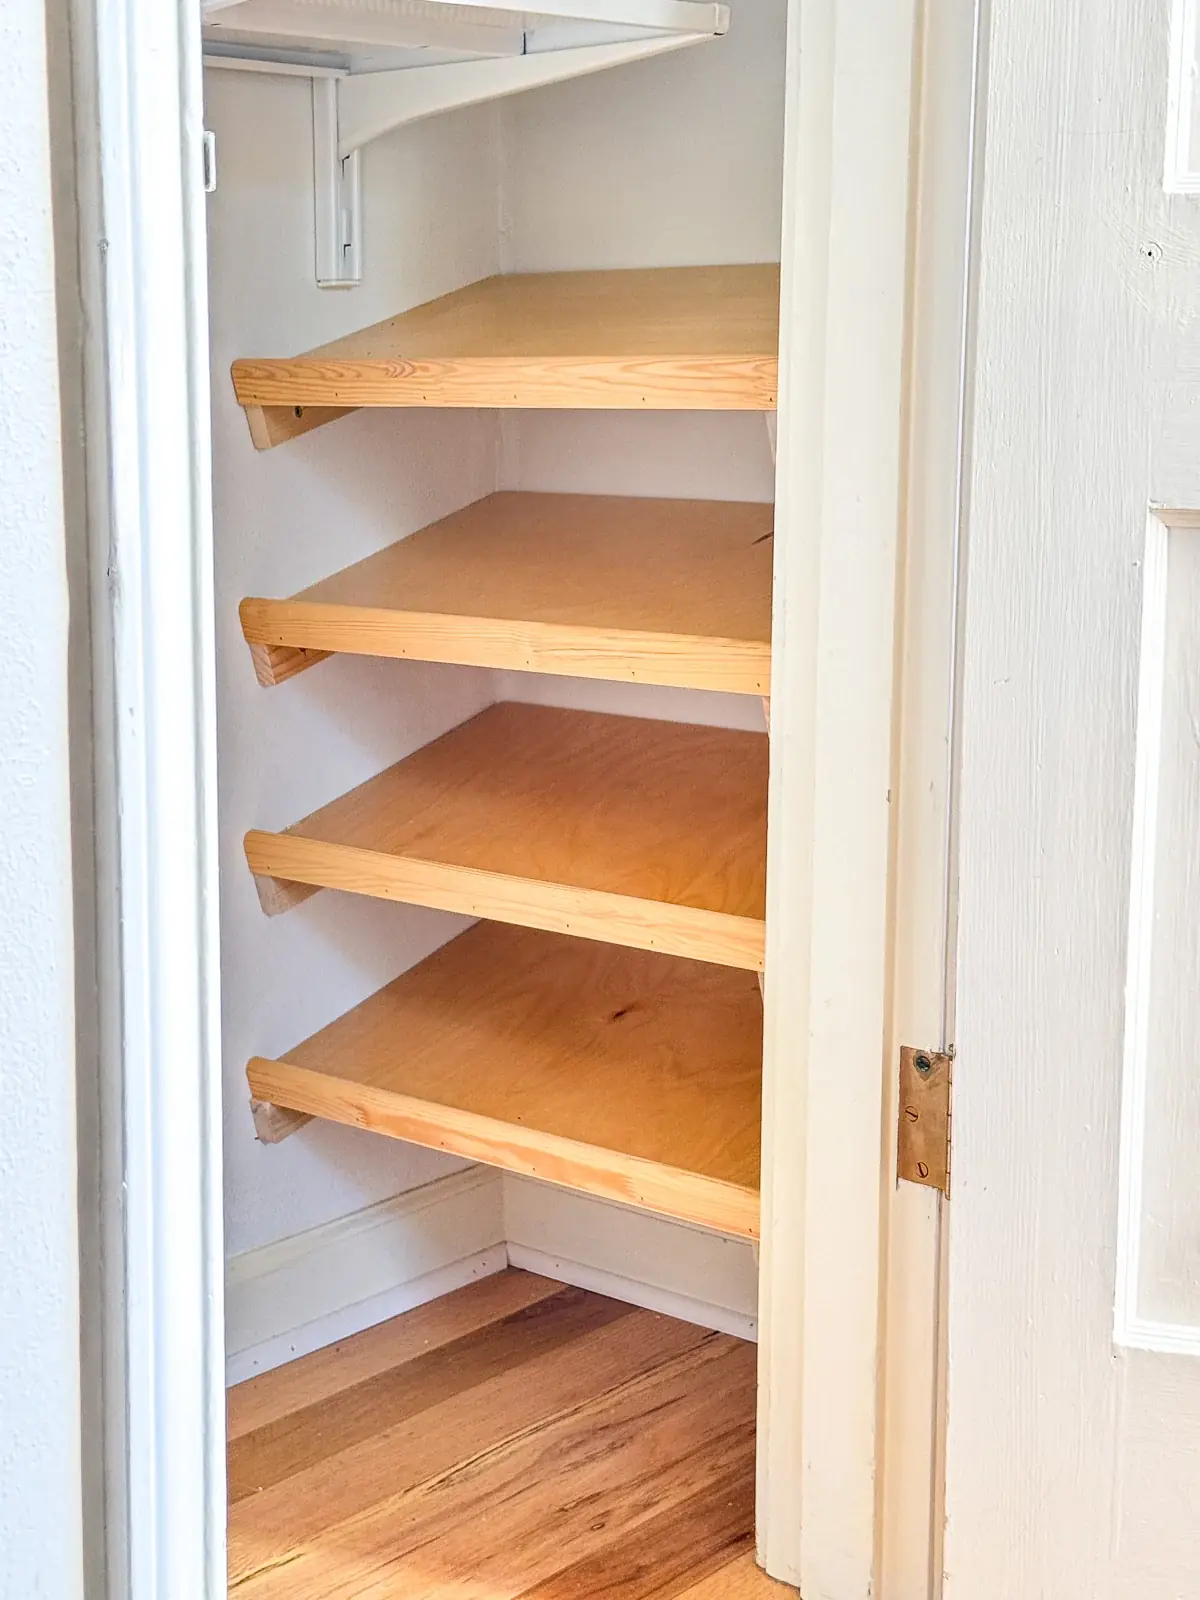
Use that project as a material example. For books or a different span, return to the planned contents and the support sketch before choosing the sheet.
Treat the lip as a separate part: any stiffening benefit assigned to it needs to match the way the edge is built and joined.
Compare plywood shelf options before buying the sheet
Keep a short spec beside the shopping list: the actual panel product, measured thickness, clear span, depth, expected contents and support layout.
Change one item at a time. Keeping the rest of the plan the same makes it easier to see why an estimate changes when you try another board.
WoodBin’s sag estimate uses average material properties and calculates initial deflection.
Treat that result as a design comparison, with the calculator’s stated limits; it doesn’t certify the safe load of the panel, fasteners and wall together.
If the planned shelf needs a different arrangement, revise the specification before buying a sheet on thickness alone. For more furniture and storage projects after that decision, browse the Wood Center journal.