WOODEN FURNITURE & HOME
To stain wood while keeping its grain visible, prepare the bare surface, test your chosen color, apply a compatible stain, wipe away the excess as directed, let it dry, and add a suitable clear finish. The important pause comes before you coat the furniture: check a sample with the protective finish included, rather than judging the color while the stain is wet.
This guide covers a separate penetrating stain and clear finish for indoor wood. The photographs illustrate individual tasks and sample boards from different projects; they aren’t a continuous Wood Center build or test. Combination stain-and-finish products, exterior coatings, and products made to go over an existing finish need their own application instructions.
Gather the stain, clear finish, and a matching wood sample
Pick the stain and clear coat before you buy sandpaper or start work.
Read both cans. Check which surfaces they accept, how to prepare the wood, and when the clear coat can go over the stain.
Have these items ready:
- Indoor wood stain and a matching clear coat.
- Scrap from the project, or a hidden test area on the piece.
- Sandpaper and dust-removal supplies suited to the coating.
- A brush or pad the label allows, clean wiping cloths, and a stir stick.
- A drop cloth, safety gear, fresh air, and a way to handle waste as the labels require.
Oil-finish-soaked cloths can catch fire if you discard them the wrong way.
Plan for that waste first. Follow the can’s fire precautions and local disposal rules; don’t leave a crumpled oily cloth beside the work. Follow its rules for gloves and fresh air too, even if an example photo shows bare hands.
Does the piece need new color?
You may be able to clean or touch up a sound finish instead. Compare those options in planning a furniture makeover before stripping the whole piece.
1. Prepare bare wood for an even stain
This method starts with bare wood.
An old clear coat can block the stain from soaking in. Check what you’re working on before removing it: thin veneer needs care, and unknown old paint needs a hazard check before you disturb it.
Fill small defects with a product that accepts your chosen stain, then include a filled spot in the test piece because a patch may take color differently from wood.
Choose the repair first. The filler and putty comparison separates patches you can sand from soft touch-up products for finished wood.
Sand the bare wood evenly, using the grits your coating calls for.
Finish hand-sanding with the grain. Remove the dust with a method the coating allows; don’t copy a final grit from another project without checking your can.
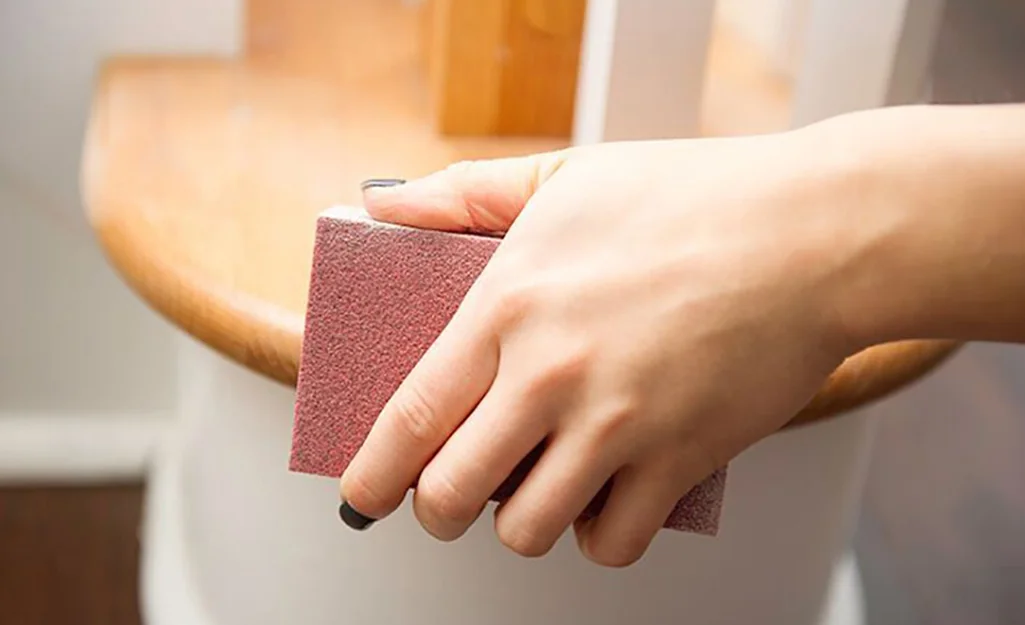
For abrasive selection, edges, and cleanup, follow the wood sanding guide before opening the stain. Keep this preparation consistent between the sample and the furniture.
2. Test the stain through the clear-finish stage
Use matching scrap for the color test.
Sand it the same way as the furniture, then use the same stain, any required conditioner, and the planned clear coat. Wait until the full sample is ready to judge before you settle on the shade.
Label your test pieces as you go.
These two boards show separate sample sets, so they can’t promise a color match or prove how the woods compare under the same light and coating schedule. Their useful detail is the split between stain colors and clear coats.
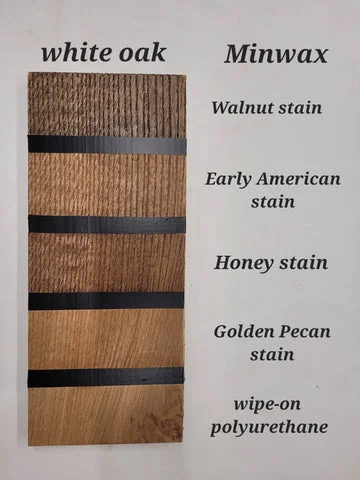
The maple board has two clear-coat sections below its stain samples.
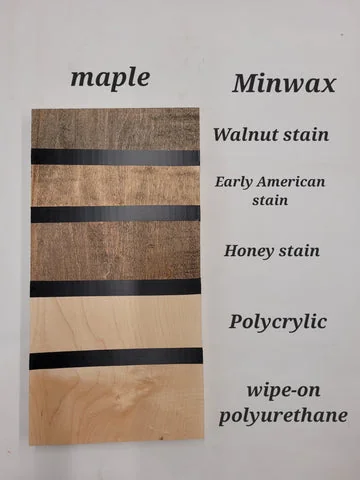
Read the small labels at the image’s native size; don’t treat the names as a recipe for your project.
Does your stain call for conditioner?
That prep coat can help stain soak in more evenly on blotch-prone wood. If it’s required, use the matching type and follow its timing; oil-based and water-based versions don’t share a single set of rules.
3. Spread the stain without losing the wet edge
Mix the stain as directed after the sample looks right and any required prep coat is ready.
Brush or wipe it on evenly with a tool the label allows. Choose a section you can coat and wipe within the stated working time; a large tabletop may need a different pace from a small trim piece.
Don’t let the adjoining edge dry.
Blend each fresh pass into the wet stain beside it. Sherwin-Williams recommends this to help avoid lap marks, which are lines where one coated area meets another. Finish the strokes along the grain as the stain label directs.
Check the can for the wait before wiping.
Time similar sections the same way. Don’t let excess penetrating stain dry on top of the wood while you work elsewhere.
4. Wipe off the excess stain along the grain
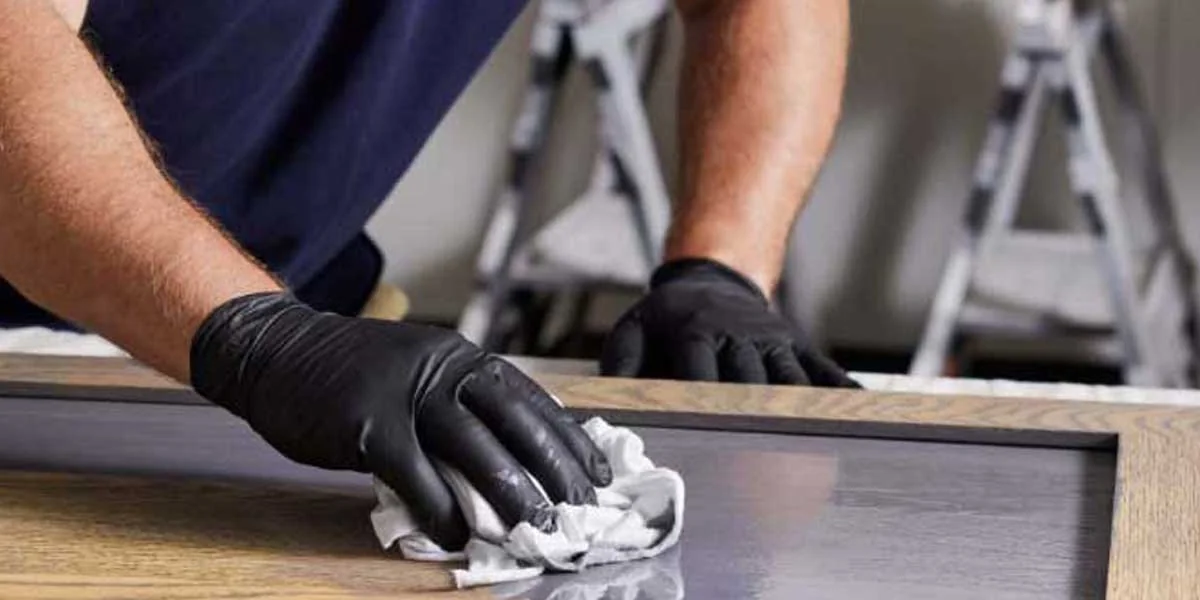
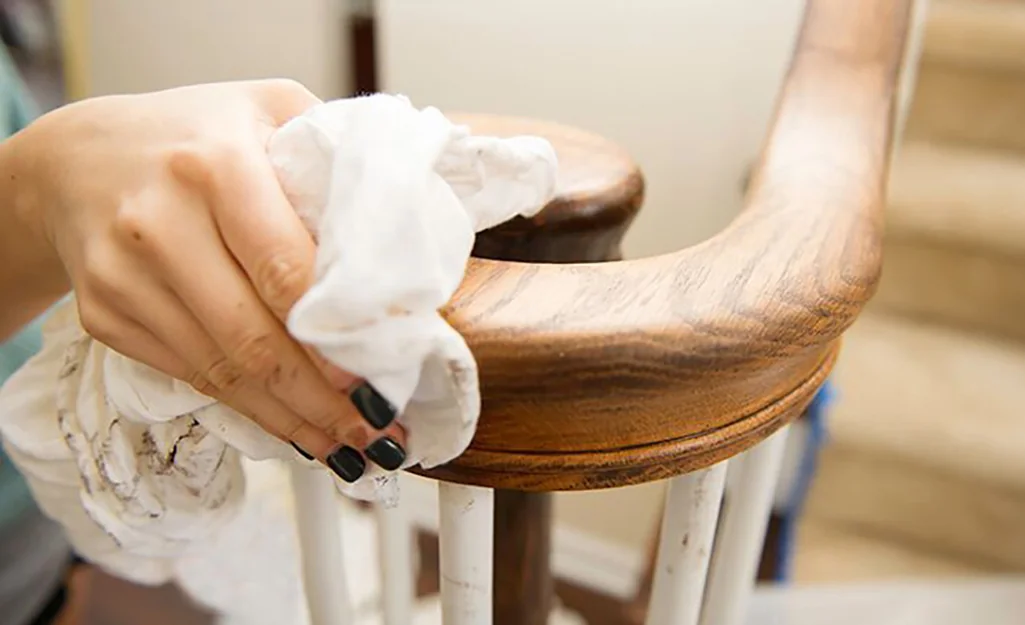
Wipe away the excess when the label says.
Finish with the grain, using a clean cloth. Turn to a fresh part as it loads up, and check curves and corners for stain the first pass missed.
Want a darker shade?
Choose another color or check whether the stain allows another coat after the stated wait. Don’t leave a wet layer behind to force a darker result; use the method that worked on the sample.
5. Let the stain meet the topcoat’s drying requirements
Let the stain dry in the conditions the can allows.
Check both labels before topcoating. The wait must suit the stain and the clear coat, so an hour count from another formula won’t settle whether your piece is ready.
Minwax advises against topcoating stain that remains tacky.
Still sticky? Stop and check the maker’s advice for your stain. Don’t cover the problem with clear finish.
A shiny photo can’t prove the stain is dry.
Use the label’s readiness checks, and keep the wait before a clear coat separate from the wait before using the furniture.
6. Apply the compatible clear protective finish
Apply the clear finish once the stain is ready.
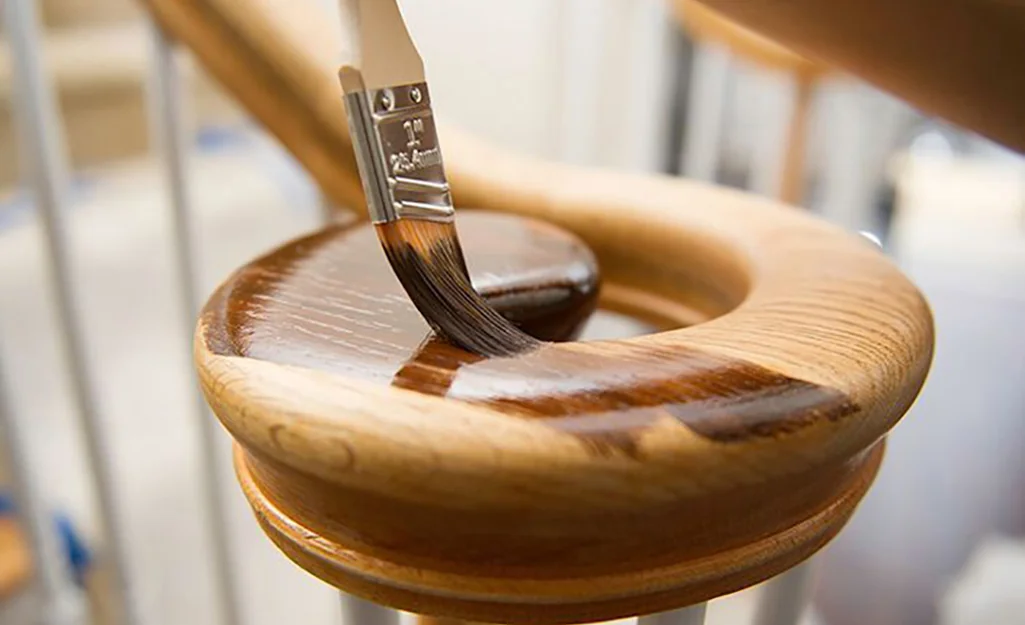
Follow the clear coat’s own rules for tools, thin coats, coat count, and any sanding between coats. The brush below is spreading a clear coating, a separate task from staining.
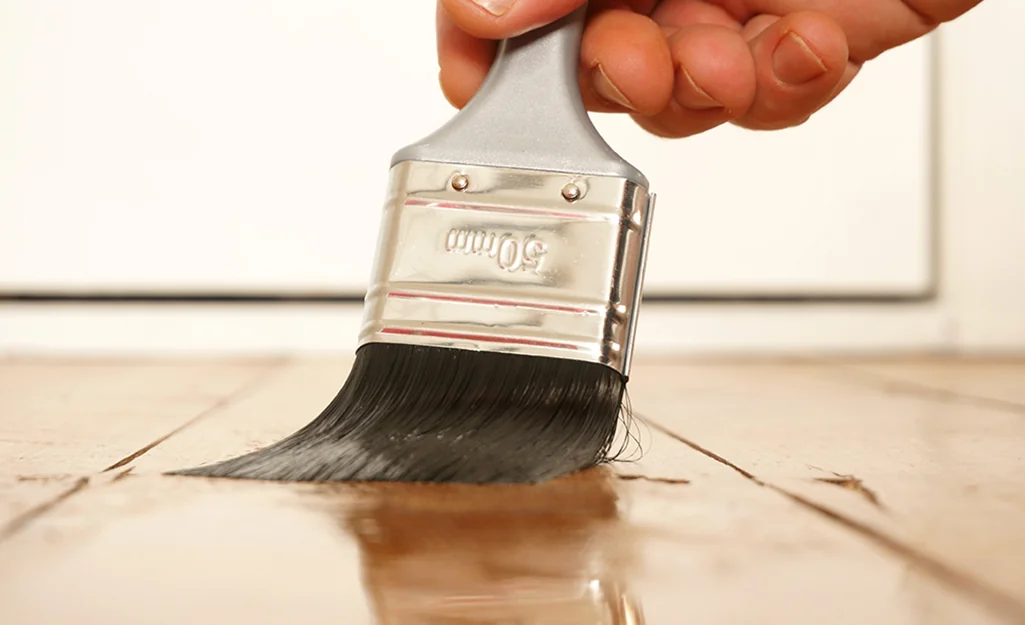
Stain adds color; the clear coat protects it.
Check when the finished piece can be handled and used before setting objects on a tabletop or filling a shelf.
Save the sample with notes on its products and sanding; you’ll have a reference for the next matching piece.
For another home project, browse the furniture and storage topics on the Wood Center home page.