WOODEN FURNITURE & HOME
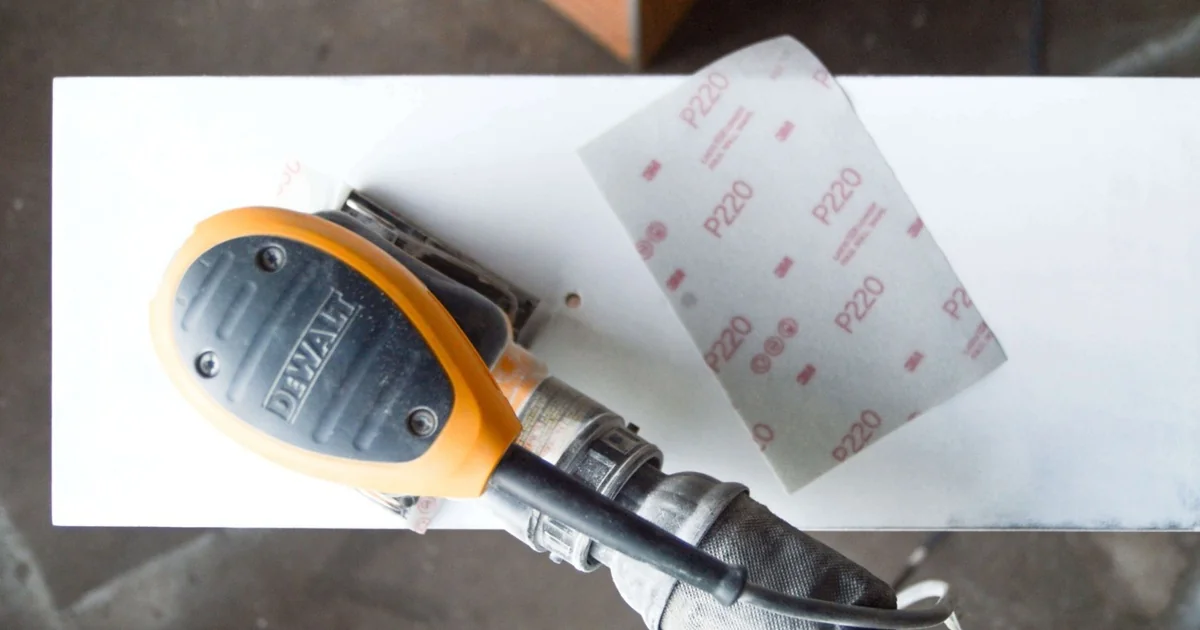
Painting on laminate furniture is possible: clean the facing, prepare it as directed and use a primer meant to grip that surface before adding paint. The wood grain can be misleading. First find out what covers the piece, then choose a paint system and read its full directions.
Identify the laminate before choosing paint
Laminate is a made facing, often plastic. Benjamin Moore’s guide sets it apart from solid wood, while Anika Gandhi’s IKEA makeover guide suggests checking the maker’s materials list to find out what a piece is made of.
Check the listing first. A wood-grain print can send you down the wrong path; real wood veneer is another surface to identify before choosing how to treat it.
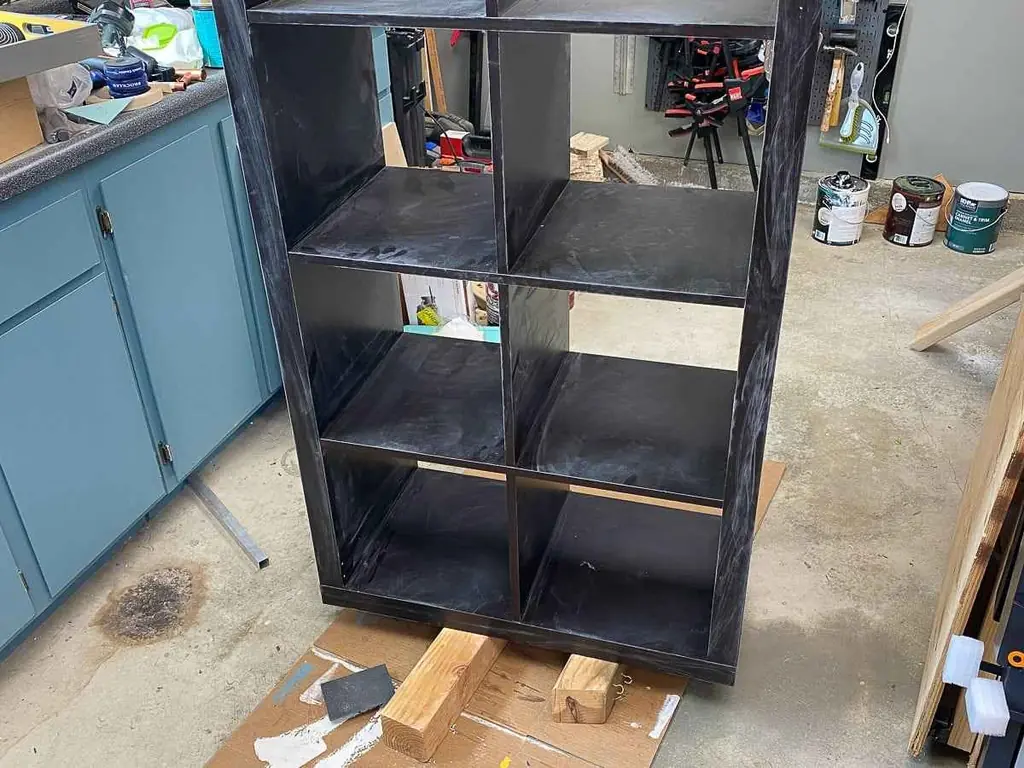
The dark shelf below is named as laminate in that project, and its scuffed faces show the piece ready for coating.
These are views of other makers’ makeovers; Wood Center hasn’t tested these pieces or their paint.
Still weighing up a makeover? Care and repair planning puts the surface and the state of the piece ahead of the paint color.
A bonding primer has to suit the laminate surface
Once you know the facing, look for a primer rated for it. A bonding primer helps paint grip a hard-to-coat surface. Benjamin Moore names INSL-X STIX for laminate; the IKEA example uses the shellac-based B-I-N shown below.
STIX and B-I-N are distinct choices. Match the exact can and its directions to your job, rather than treating a product in a photo as a rule for every shelf.
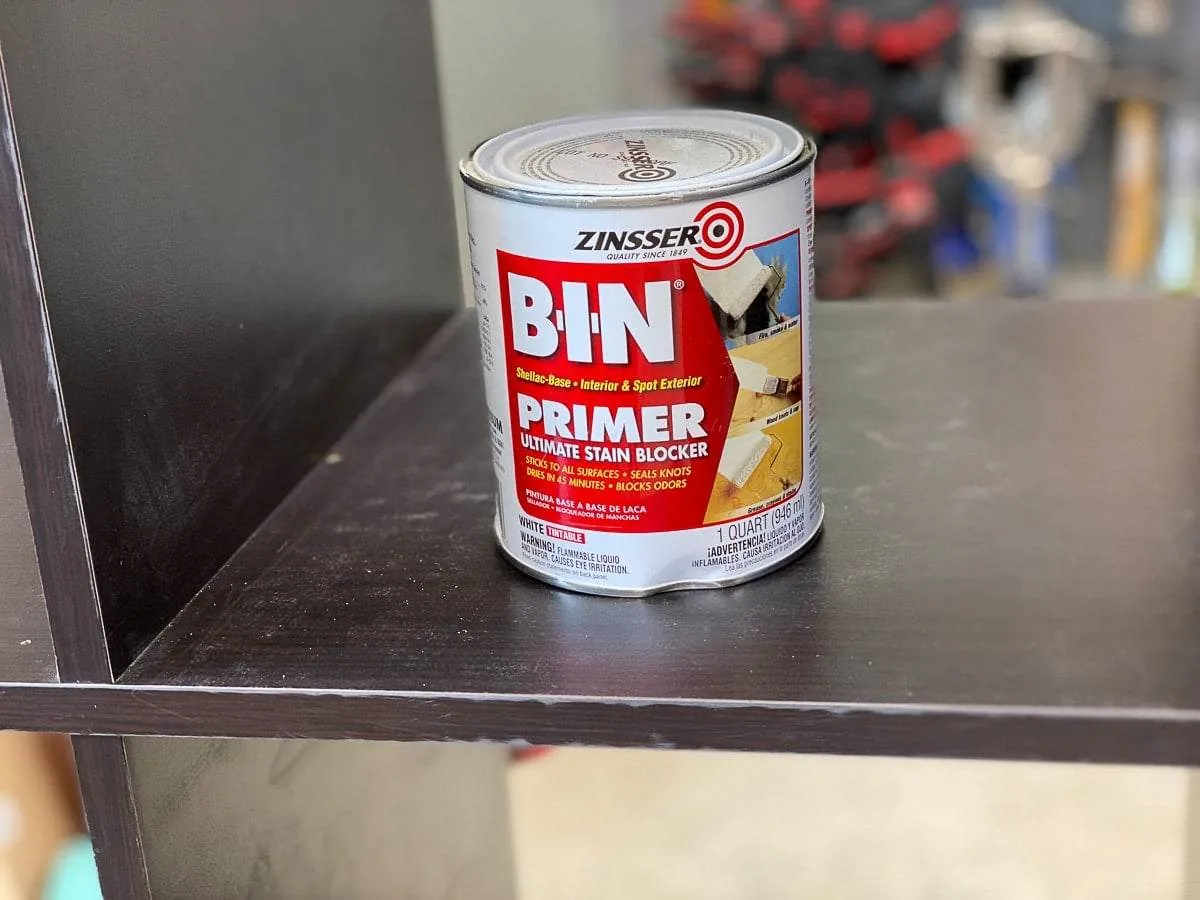
The STIX sheet says to test a small area of a doubtful plastic or composite for grip and for how it works with the finish coat before doing the whole job.
Try a small area first. Ask the paint maker how to judge that test if the can leaves you unsure; guessing at the result is a poor basis for coating a whole dresser.
Does “no sanding” mean leaving laminate glossy?
The primer choice leads back to surface prep. Anika’s “no sanding” article still calls for light scuffing and wiping away the dust, so its title needs to be read alongside the method.
Heavy stripping is a different job.
Benjamin Moore’s guide follows this order: clean, gently sand, remove dust, prime, then paint once dry. The aim is a dull surface, with the thin facing still intact.
Keep the facing in place. Follow the chosen system from prep through paint, with its own drying times, rather than mixing parts of separate methods.
An intact facing and a peeling one also need different work. The STIX sheet calls for badly damaged or loose layers to be repaired or replaced before coating.
Dry paint and cured paint answer different questions
After prep and primer, the paint changes what you see. The finished dresser below has a muted green coat and dark handles.
Its appearance does not tell you when the coating is ready for use.
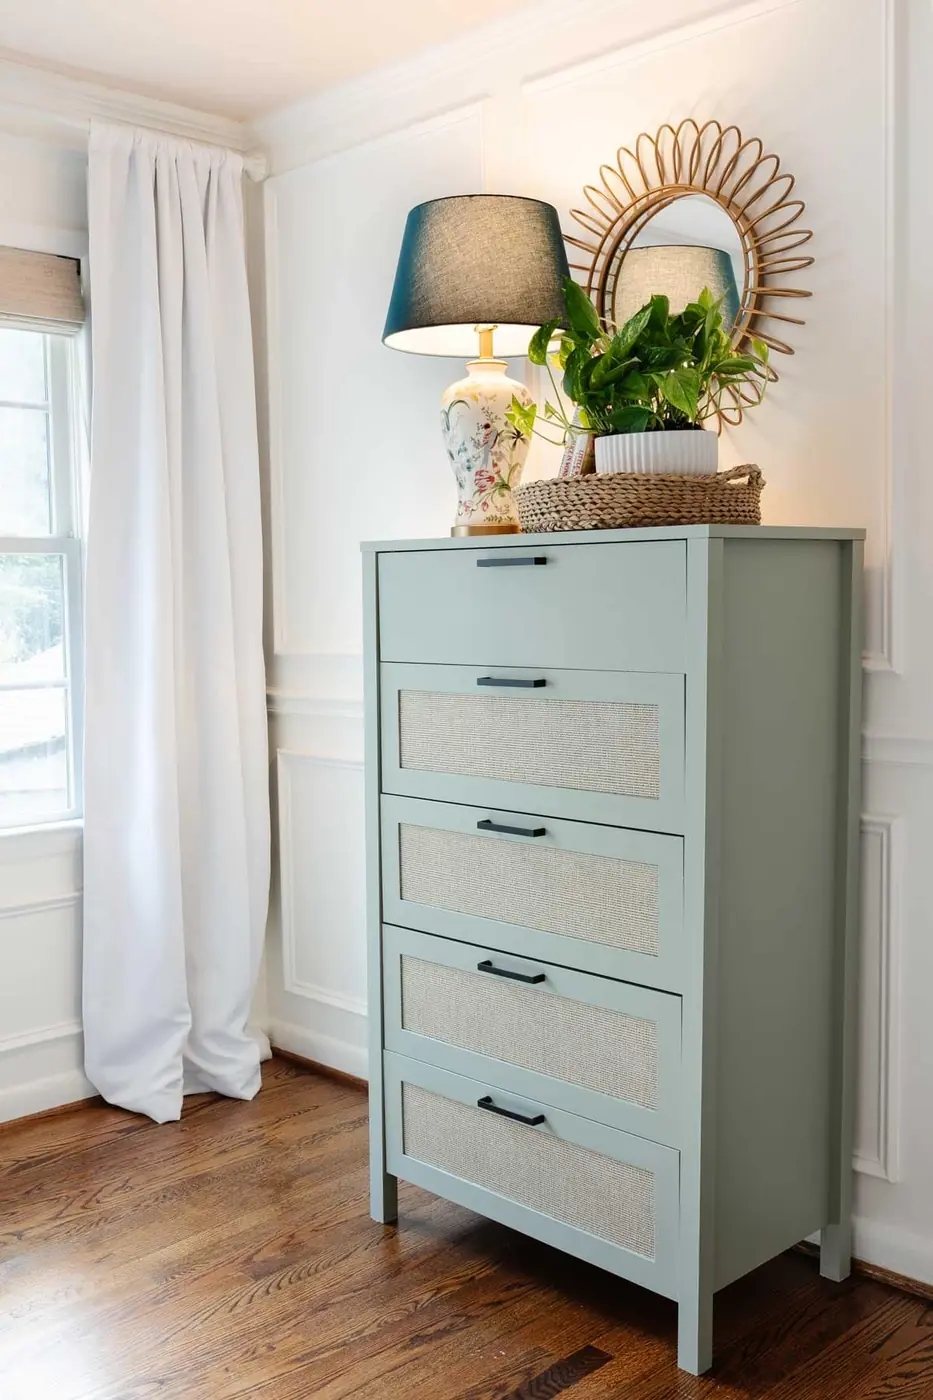
For STIX, the sheet gives 3–4 hours before a finish coat, but about 3–4 days to gain its greatest scrape resistance. Its listed drying times are at 77°F (25°C) and 50% relative humidity; cooler, damper air extends the wait.
The primer figures apply to STIX. Check the chosen paint’s directions as well.
Before loading the shelf, look up when the finish can return to use. Keep that note with the surface type, prep method and test result, so the final coat gets the time it needs before books slide across it.