WOODEN FURNITURE & HOME
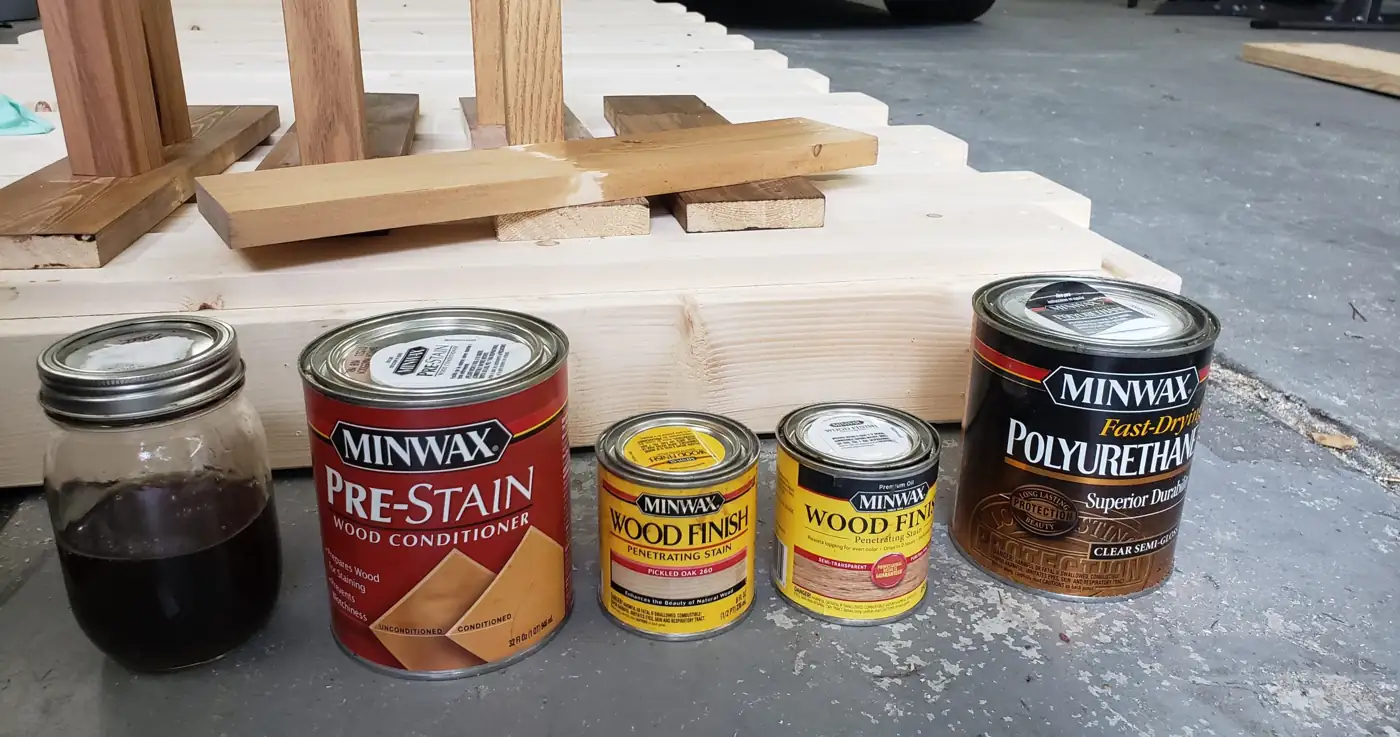
Wood conditioner on pine is worth considering before a penetrating stain when you want more even color. Pine can absorb stain unevenly, and a compatible pre-stain treatment helps reduce blotches. The useful decision is which conditioner fits your stain, followed by a sample that shows whether you like the resulting color.
Pine conditioner addresses uneven absorption before stain
Dark patches can spoil a pine shelf even when the stain has been spread across the whole face, because some areas take up more stain than others.
Minwax describes its pre-stain treatment as a way to even out stain uptake before the wood is colored. That puts the choice ahead of stain day.
The aim is fewer blotches.
Knots and grain will still shape the look of the shelf, so judge whether you like that pattern as well as the shade of brown.
Start with the surface you actually have. The Minwax oil-based directions call for bare or stripped wood that is clean and dry. If you’re working on existing furniture, the care and makeover guide helps put preparation alongside the repair and finish decisions.
Match pine conditioner to the stain on your bench
Check the stain can first. Look for whether it’s oil based or water based, then check the proposed pre-stain product against it.
Minwax has both oil-based and water-based pre-stain products, and the label on the stain helps you choose which one to read about below.
Oil-based stain: read the oil-based conditioner label
The red Minwax can shown below says “For Oil-Based Stains.” Match the exact labels on both cans before you open either one.
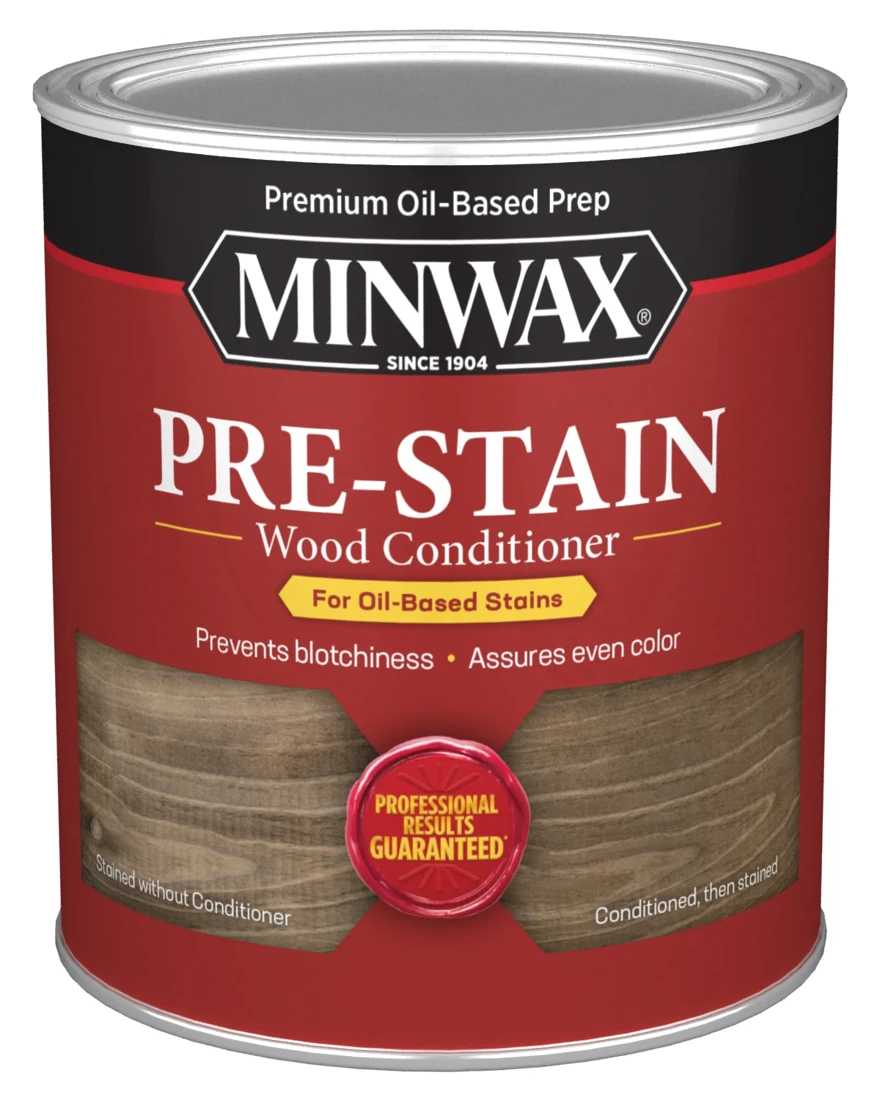
For this Minwax oil-based product, the instructions say to apply with a brush or cloth along the grain, let it penetrate for 5 to 15 minutes, and wipe off the excess with a clean, dry cloth. Apply stain within 2 hours of the conditioner application. The directions also say not to thin the product.
Keep the official oil-based directions beside the work, and follow the can’s rules for airflow and the safe disposal of used cloths.
Water-based stain: allow for the raised-grain step
The white Minwax can is labeled “For Water-Based Stains.” This product has a raised-grain step: you’ll smooth the rough wood fibers after the liquid has had time to work.
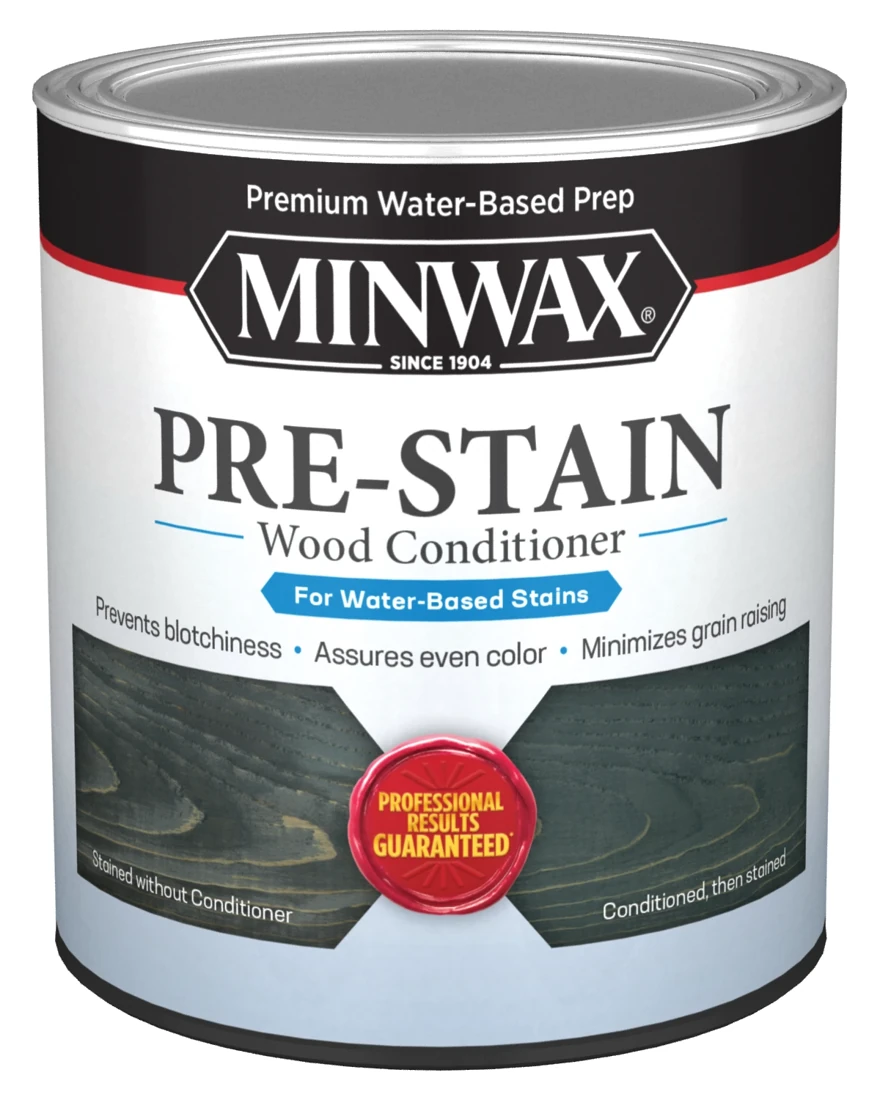
For this Minwax water-based conditioner, apply with a brush or cloth along the grain and allow 1 to 5 minutes for penetration. Wipe away excess with a clean, dry cloth; don’t let unabsorbed product dry on the surface. After 15–30 minutes, lightly sand with fine-grade paper to smooth raised grain and remove the dust. Then apply stain according to its label.
Don’t carry the oil-based two-hour rule across to the white can.
Read another brand’s label from the start too, rather than treating either Minwax schedule as a rule for every pine finish. A different can can mean a different wait.
A pine sample should answer a color question
With the products chosen, turn to the wood itself.
A pine offcut gives you a place to try the color before it covers a whole shelf or tabletop, where a shade you dislike would be much harder to change.
The three sample boards below show different brown tones, visible knots, and strong grain patterns. They illustrate the range of appearances worth considering before committing to a pine finish.
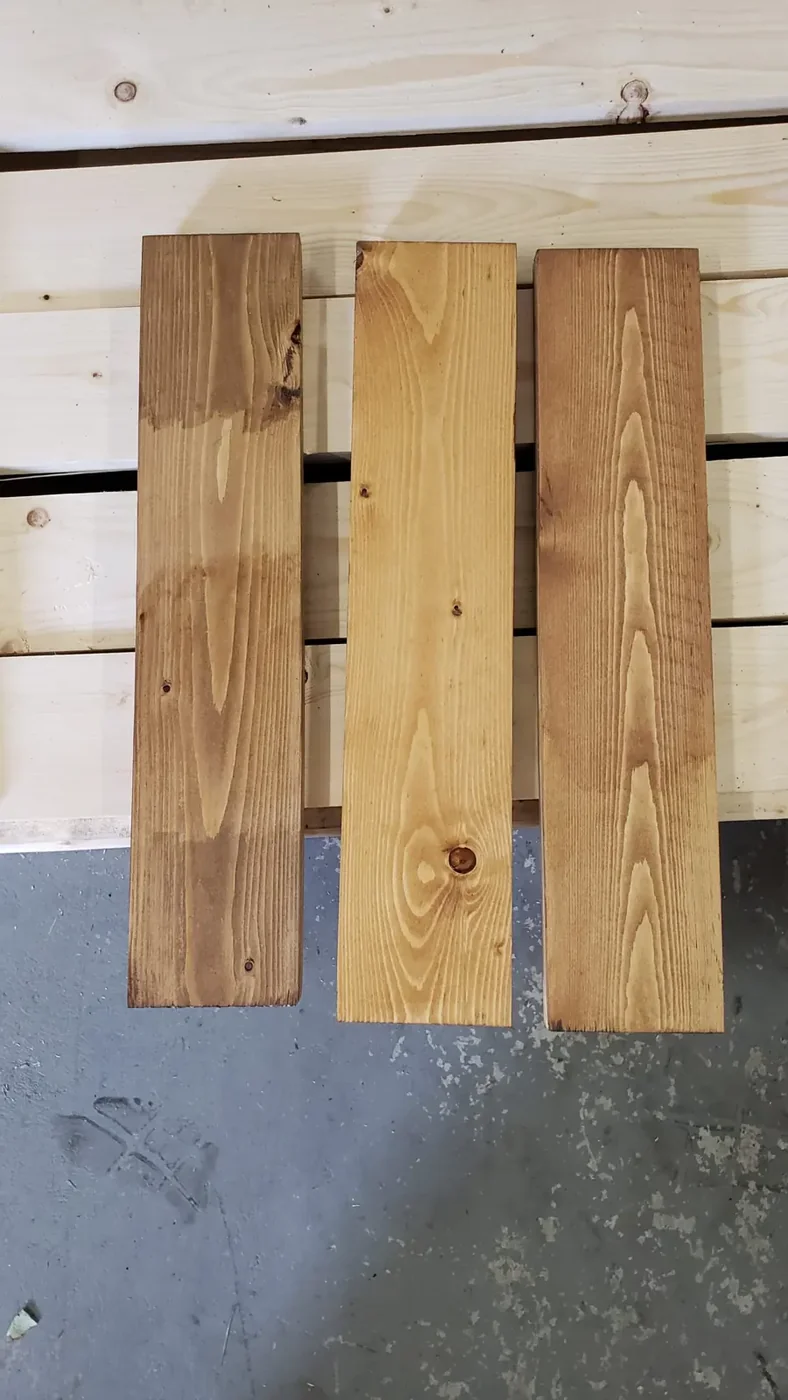
The wood photos come from a third-party project, while the tiny before-and-after pictures on the cans are brand label artwork; neither is a Wood Center test.
The three boards don’t tell us which recipe or wait time was used on each one.
For a useful home-project check, try the planned preparation and finish on a suitable offcut before coating the visible parts. Use the selected products’ instructions throughout, including the stain and protective finish. Our bare-wood sanding guide explains why the sanding stopping point should follow the coating’s requirements.
Hold the finished sample beside the furniture and check whether its color suits the room before you brush stain onto the visible parts.
Conditioner won’t replace a pine repair decision
A blotch isn’t the same problem as a hole or a scratch. Check what you’re trying to fix before choosing the next product.
If the sample has rough spots or damage, decide how to deal with those before you blame the stain color or reach for more pre-stain liquid.
If the pine has small surface defects, compare sandable fillers and touch-up putties before buying a patching product. Include any proposed repair in the finish sample so you can judge the repaired area as part of the appearance.
An exposed plywood shelf edge also needs its own plan.
If the project mixes pine with a sheet panel, the plywood edge-finishing guide helps you choose between a painted edge and one covered with wood.
Keep the approved sample with the project and write down the products used. More furniture and finishing topics are available through Wood Center.