WOODEN FURNITURE & HOME
Shoe shelves for a closet should fit your longest shoes and leave enough space above each pair to lift it out. Measure the footwear you actually keep, then compare those measurements with the rack’s usable shelf dimensions. A rack’s advertised pair count means little if your boots need two shelf openings or a sliding door hides half the shoes.
The goal is a visible place for each pair that you can use on a rushed morning. Start with the shoes, then check the closet opening before committing to a freestanding rack, adjustable tower or pull-out unit.
Measure shoes before choosing shelf depth
Set your longest everyday pair on the floor as you would store it. Measure from the back of the heel to the tip of the toe. Include any part that projects beyond the sole. Compare that footprint with the usable depth between a rack’s back panel and front rail, rather than its overall outside depth.
A front lip can help contain shoes on an inclined shelf, but it also occupies space. Back braces and projecting feet can make a rack deeper than the surface supporting the shoes. Look for a drawing that separates those dimensions; a single overall measurement leaves that question unanswered.
Check a broad pair, too. Shoes stored side by side need room across their widest points. Count capacity using a real pair on a marked outline of the proposed shelf. Allow a little separation so lifting one shoe does not pull its neighbor forward.
| Measurement | Compare it with | What a mismatch looks like |
|---|---|---|
| Longest shoe footprint | Clear shelf depth | Toe or heel projects into the door path |
| Widest pair side by side | Usable shelf width | Pairs overlap or need to be turned sideways |
| Tallest footwear standing upright | Clear opening above the shelf | Boot shafts fold against the shelf above |
| Rack outside dimensions | Closet floor and open doorway | The frame fits inside but cannot be reached comfortably |
The shoe-size label isn’t enough. A pointed dress shoe and a rounded sneaker can occupy different footprints even when their labeled size matches.
Fit the rack into the broader plan in our closet shelving layout guide, especially where hanging clothes share the space above shoes.
Leave hand space above sneakers and boots
Once the footprint fits, check how the shoe comes off the shelf. A pair can slide into a tight opening yet be awkward to grasp from above. Use the tallest shoe in that group, and leave room for the motion you use to retrieve it. Try the motion before you buy.
Adjustable shelves are useful when your collection mixes low shoes, high-tops and ankle boots. Check the adjustment positions before buying. Removable shelves can create a taller opening, but removing one also reduces the rack’s available storage levels. Recount your pairs with that configuration in mind.
Give tall boots their own upright space, perhaps on the floor beneath the lowest shelf. Measure the boots while they are standing as you intend to store them, including any supports you already use. Make sure the shelf above clears the top without pushing the shaft sideways.
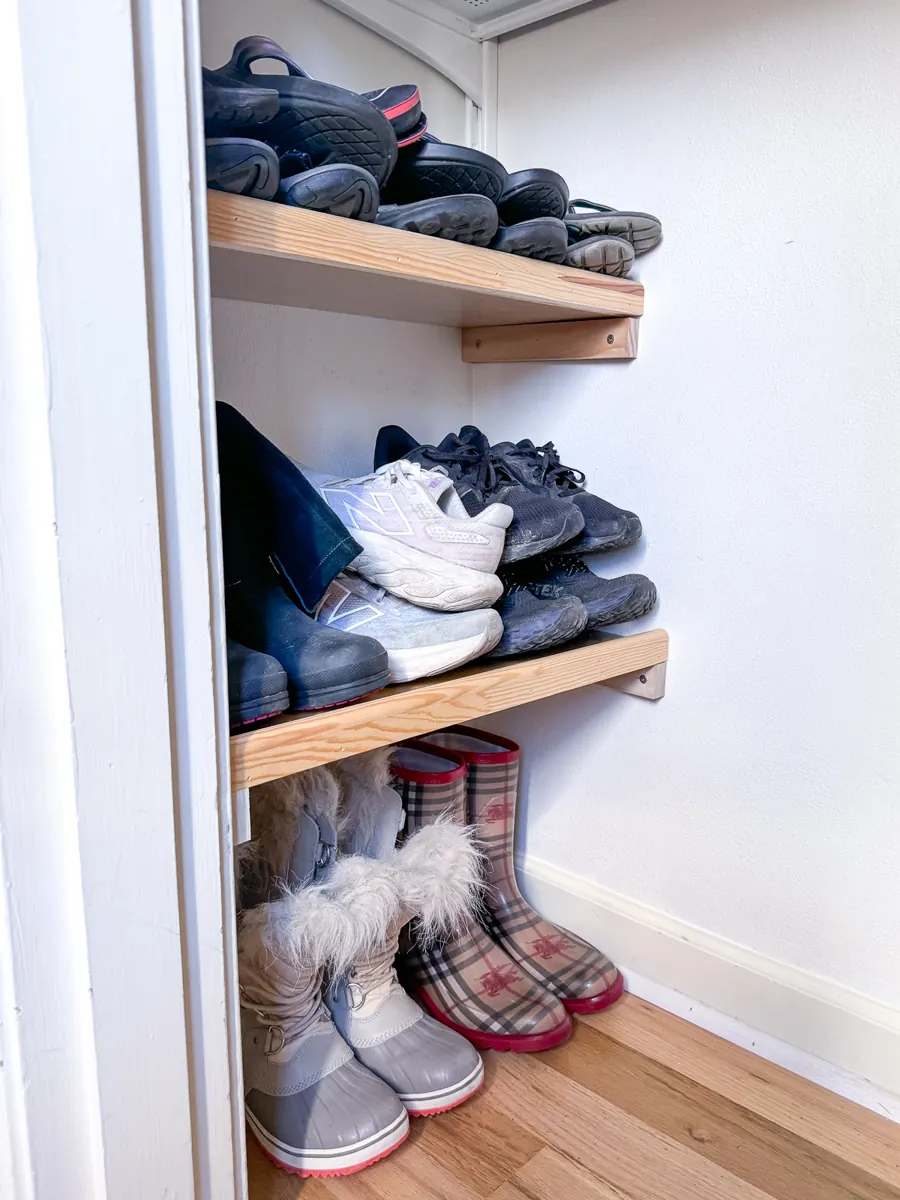
The arrangement shown here separates boots from low shoes. It illustrates a useful height choice rather than a capacity rating for a particular rack. For a finished unit, check the maker’s allowed shelf configurations and stated load limits.
Choose flat or slanted shoe shelves for the collection
With height settled, consider the shelf surface and angle. Flat shelves give mixed footwear a level base and can accommodate a removable tray if the dimensions allow. They are a practical starting point when sandals, boots and sneakers share the rack.
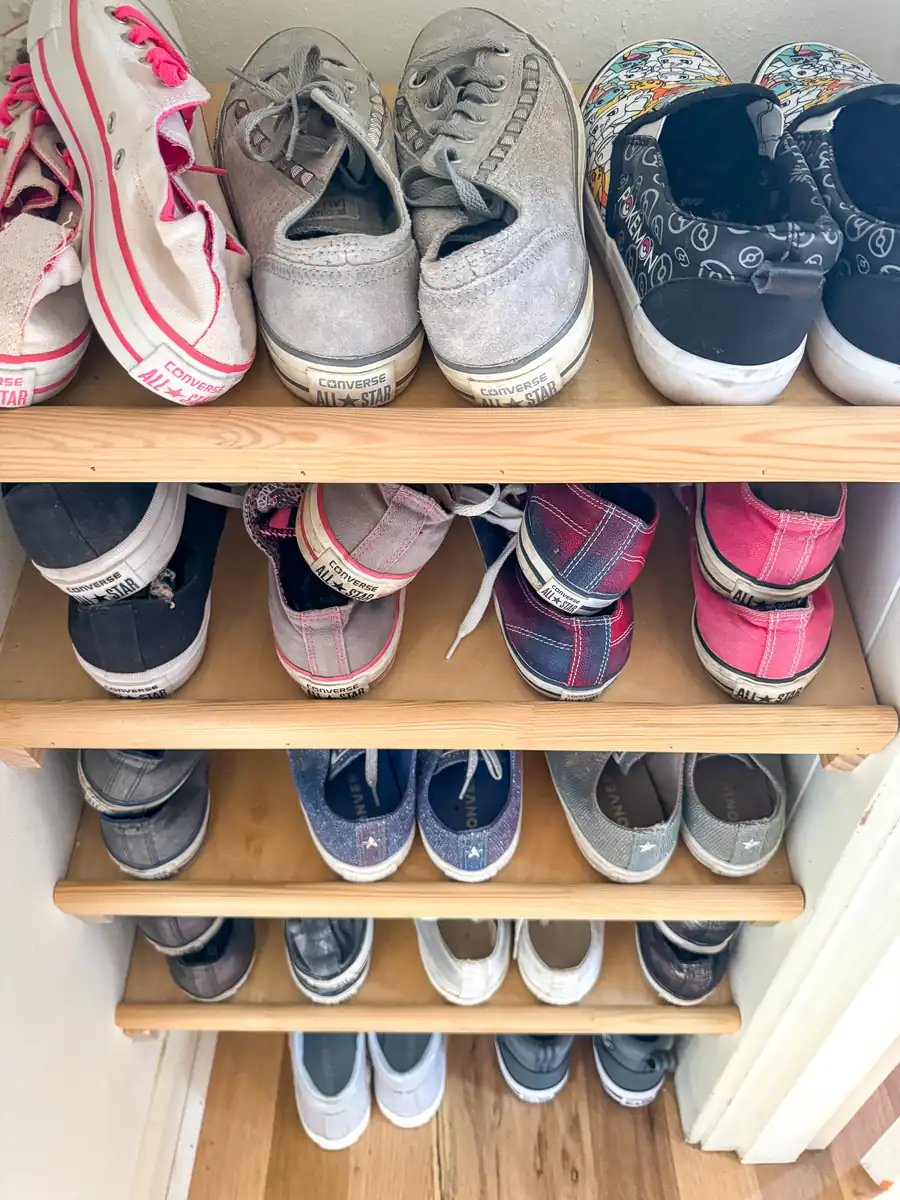
Slanted shelves present shoes toward the opening. A retaining lip helps keep footwear from moving forward, as the inclined shelves pictured below demonstrate. Check where that lip meets your shoes: the useful depth is the space in which the shoes actually rest, and the retrieval motion must clear the lip.
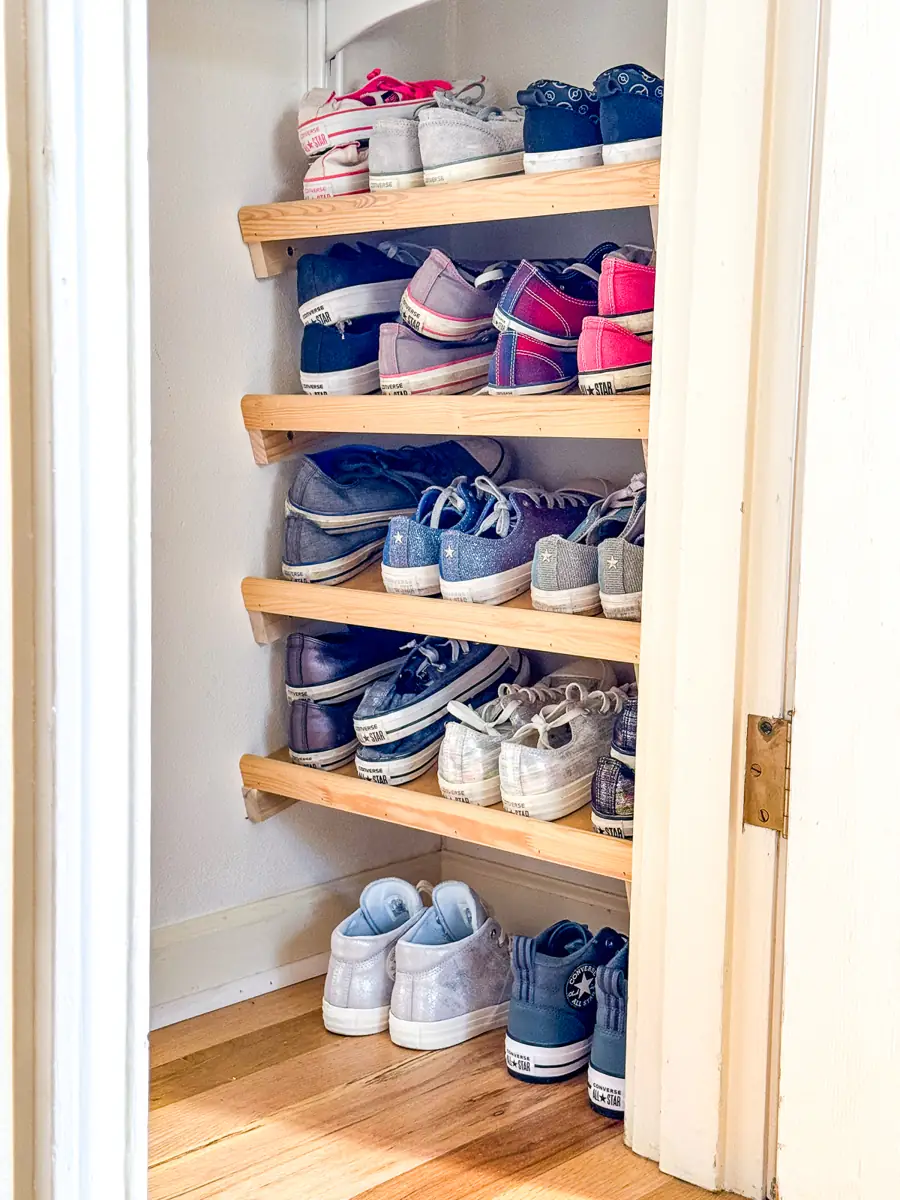
Inspect a finished rack’s surface as well as its silhouette. Narrow heels may sit poorly across widely spaced rails. Small shoes can bridge gaps differently from adult sneakers. Compare your footwear with the actual spacing, or choose a suitable solid shelf where a continuous surface matters.
A dense arrangement can look impressive while making pairs difficult to separate. Store the shoes you wear most in the simplest orientation to retrieve. Reserve nested pairs or boxes for footwear you use less often, and check that the arrangement does not crush details or hide the pair you want.
Check the closet door and the whole retrieval path
The shelf can fit perfectly against the wall and still fail at the doorway. Open the closet as you normally would. Note which areas remain behind a sliding panel, folding door or projecting trim. Reach toward the back corners before deciding where the everyday pairs belong.
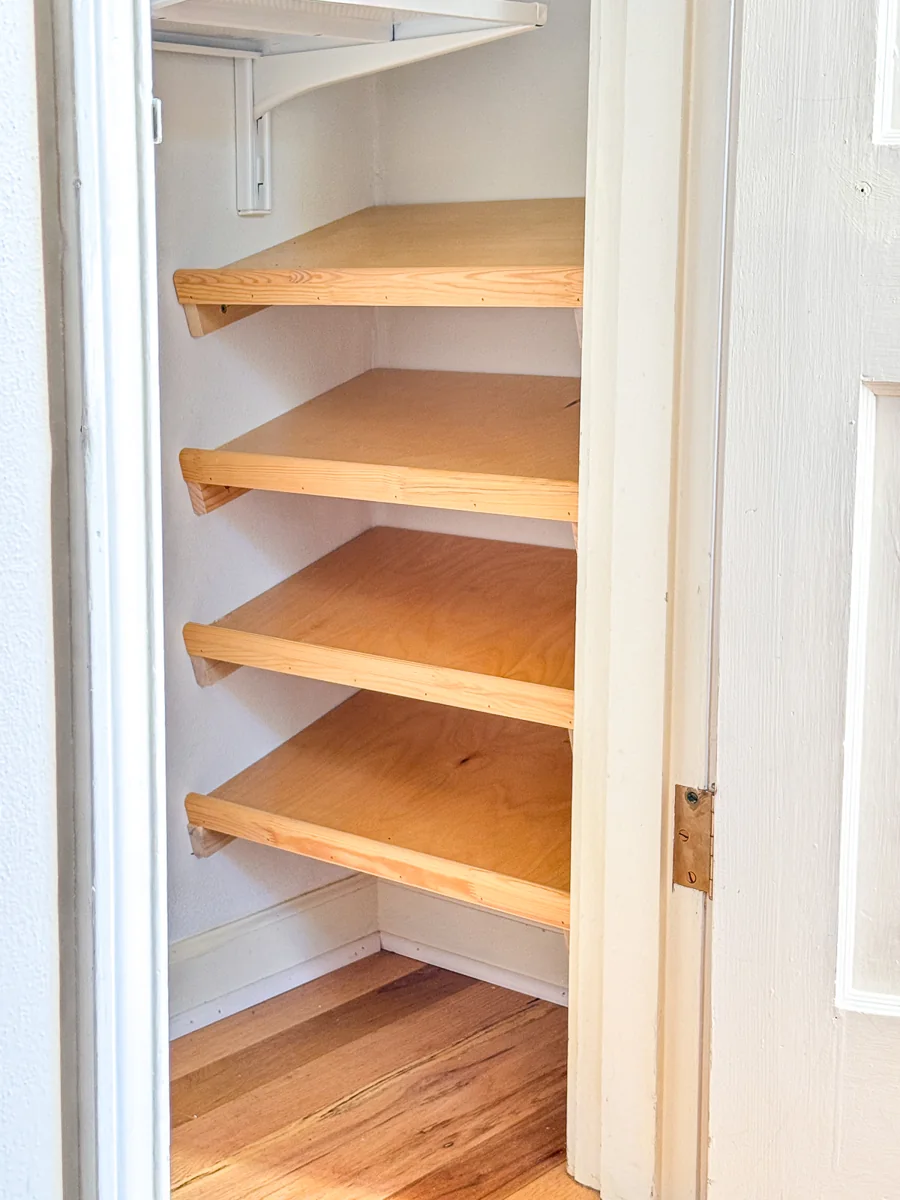
For a freestanding rack, include its feet and side frame in the floor outline. With a pull-out shelf, check both the cabinet dimensions it fits and the space it takes up when fully extended, including where you’ll stand while reaching down to pick up a pair. Don’t count the same floor space twice.
Keep this footwear check focused: can you see the pair, reach it and lift it out without moving another storage unit?
Count accessible pairs before filling every shelf
Separate daily shoes from occasional and seasonal pairs before making the final count. Put daily footwear at a height you can reach comfortably. Use less convenient positions for the pairs you seldom need, provided you can still retrieve them safely.
A second row adds nominal capacity but hides shoes behind the front row. If a shelf is deep, a removable container for occasional footwear may be easier to manage than loose pairs at the back. Check that the container itself comes out through the door opening.
Before ordering, mark the rack’s footprint and shelf heights in the closet. Compare them with a sneaker, your longest pair and your tallest boots. Then rehearse taking each out. Our small-space storage guide applies that same access check to the room around the closet.
Choose the rack that holds the pairs you can comfortably retrieve. An empty gap for boots or a wider space beside a door frame can make the whole arrangement easier to live with.