WOODEN FURNITURE & HOME
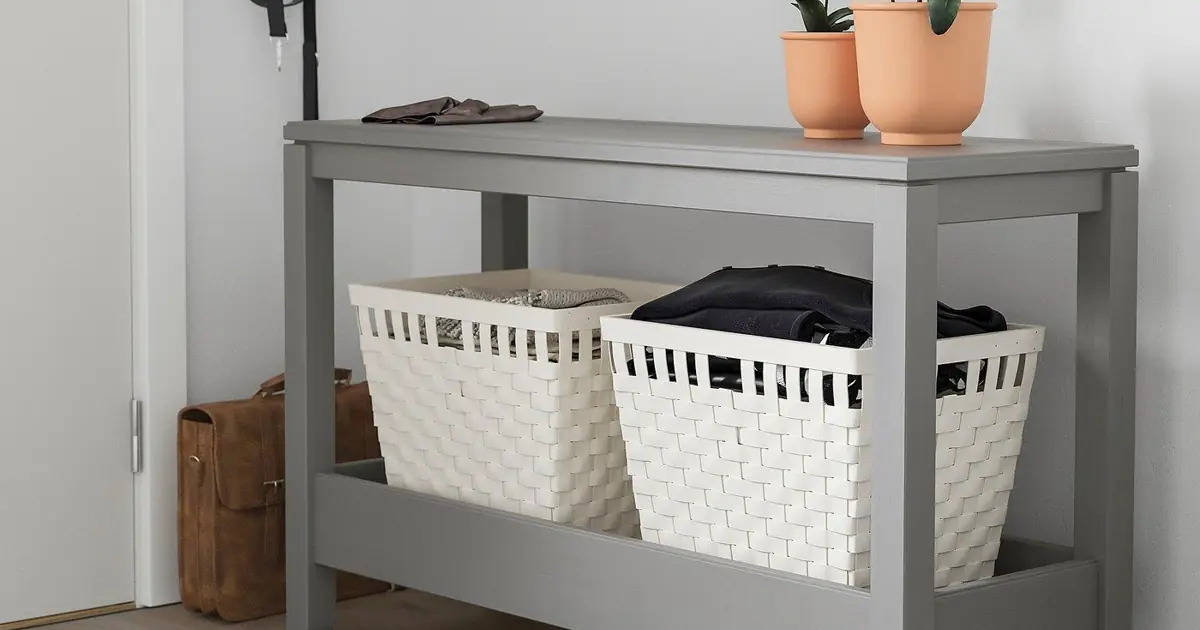
Wood console tables for narrow hallways need to fit the route people use with the entry door open and their belongings in hand. Choose the depth after allowing for the gap behind the table, then check the tabletop edge, door handle and lower storage in that position. A slim product photograph can’t settle those questions. Start with the wall where the table would actually stand.
Work out the console’s installed depth
The useful measurement is how far the installed console reaches into the hall. A baseboard may stop its legs short of the wall, while a plug behind the top may need another gap. The top, handles or feet can also project beyond the part that looks narrowest in the listing.
Measure across the proposed position at its tightest point. Include the stair rail, radiator or other fixed object opposite the table. Then compare that space with the console’s greatest projection from the wall, checking both the tabletop and the base. Don’t subtract a shelf measurement when the top is deeper.
For example, IKEA lists the HAVSTA console at 39⅜ inches long, 13¾ inches across its shallow side and 24¾ inches high. In a hypothetical 48-inch-wide hall, subtracting 13¾ inches leaves 34¼ inches before any rear gap. If that installation needs a ¾-inch gap, the remaining space becomes 33½ inches. Those figures describe the space left; they aren’t a clearance recommendation.
Try the proposed boundary in your own hall with the belongings and mobility equipment normally used there. A measured gap can still be awkward at a turn or when someone pauses to put down a bag. Try the return journey, too. If the route only works with a special sideways shuffle, choose less depth or a different wall.
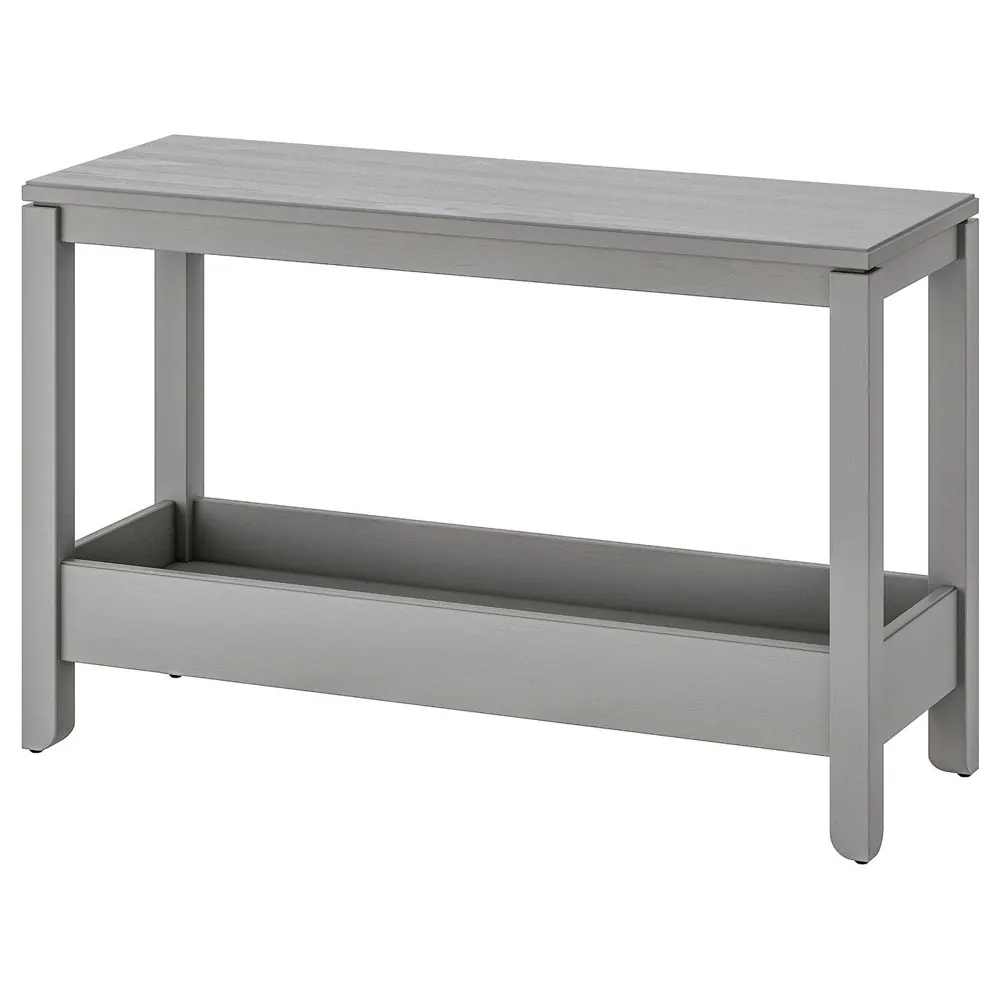
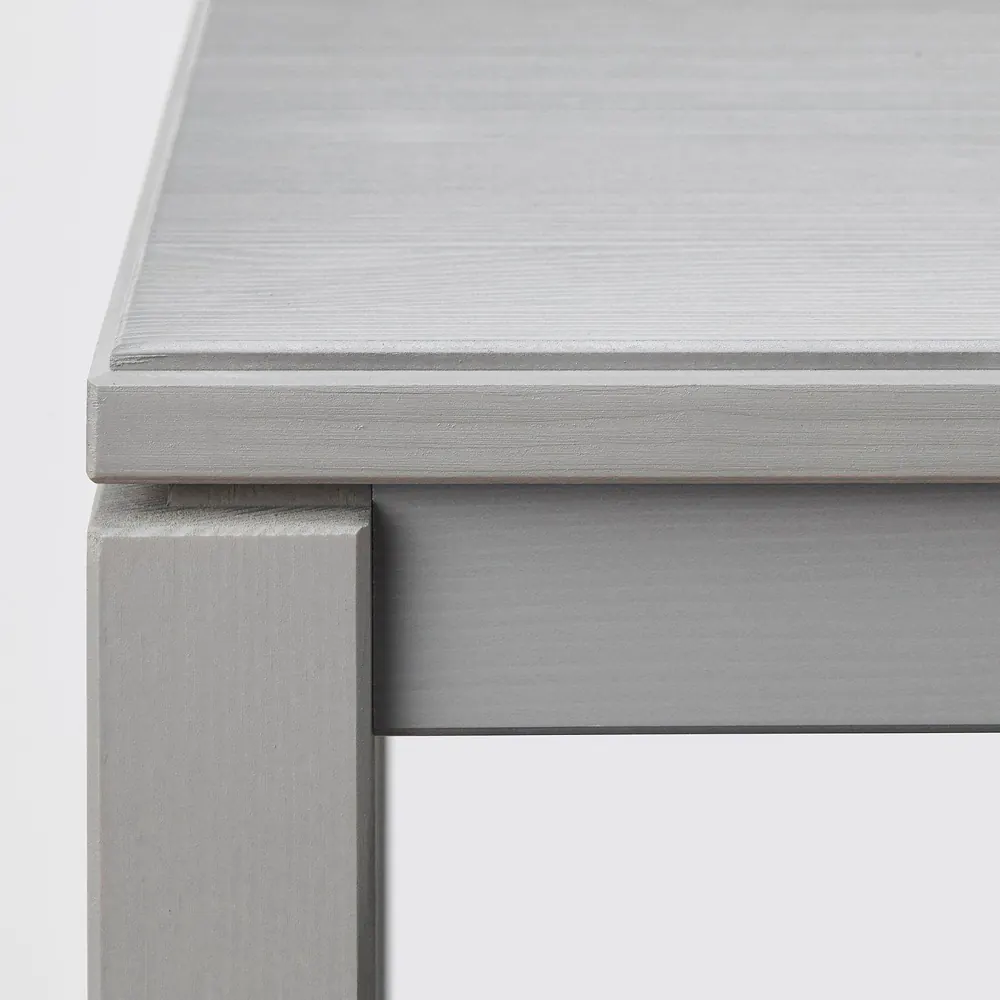
The gray console below has a continuous top over an open lower shelf. Its legs don’t tell the whole story: the tabletop edge is part of the footprint too.
For furniture delivery and construction checks beyond this hallway decision, use the wood furniture planning guide. Record the console’s assembled dimensions as well as the space where it will stand.
Keep the console out of the door handle’s path
With the installed depth marked, check the entry door separately. A clear floor outline doesn’t show where a handle will pass above it, or whether a bag on the table will meet the door as it opens. Watch the handle throughout. Include the objects intended to stay on top.
Use a temporary box or another movable stand to represent the tabletop’s height and outer edge. Open the door slowly through the movement you need for entering, carrying groceries and admitting larger items. Stop before contact. Look at the door itself, its handle and anything hanging from it.
If the door reaches the console, compare moving the table along the wall with choosing a shorter model. Less length may solve an end collision without sacrificing the surface depth you need. If the obstruction runs along the passage instead, a shorter table with the same depth won’t give that space back.
Look closely at the corner profile, too. The photographed top extends past the supporting frame and has a stepped edge. That detail belongs in the position check, even though a front-facing product shot can make the legs seem like the table’s boundary.
When every workable table position crowds the entrance, consider an entryway shelf with hooks. Check its projection with coats and bags hanging from it; freeing the floor doesn’t automatically clear the space above it.
Size the tabletop around keys and mail
Once the door clears the proposed console, decide what must land on it during an ordinary arrival. Put the actual key tray, phone and day’s mail together on an existing surface. Include your phone case. Measure the arrangement with a little bare space where a hand can set something down without moving a vase first.
Compare that arrangement with the usable top, inside any raised trim. A tray that overhangs the front defeats the point of choosing a shallow table. If a lamp is essential, include its shade as well as its base, and work out how its cord reaches the outlet before ordering.
Height deserves a separate decision. The HAVSTA example’s 24¾-inch top may feel low for a standing drop spot, depending on the person using it. Recreate that height with a stable surface and try setting down keys. Don’t choose a low console solely because its depth fits, then expect a stack of decorative boxes to make daily access convenient.
Leave the most accessible part of the top for things that arrive and leave. A small permanent display can sit at an end if it stays clear of the door. When mail starts spreading across the whole surface, give outgoing letters their own place and move stored papers elsewhere.
If a thick top and broad legs are also part of the brief, compare the chunky console’s construction and visual weight. Keep this hallway’s measurements as the filter when judging that heavier outline.
Check the lower shelf beyond the table legs
A useful tabletop doesn’t guarantee usable storage underneath. Measure the clear shelf opening between the legs and rails, then compare it with the outside of a basket, including its rim and handles. Pack the basket first. The product’s overall length isn’t the shelf’s usable length.
Think about where the basket goes when it comes out, because a deep container may fit under the top yet require you to stand across the passage to lift it. For daily gloves or a scarf, try the reaching motion from the spot where you’d normally stop after coming inside.
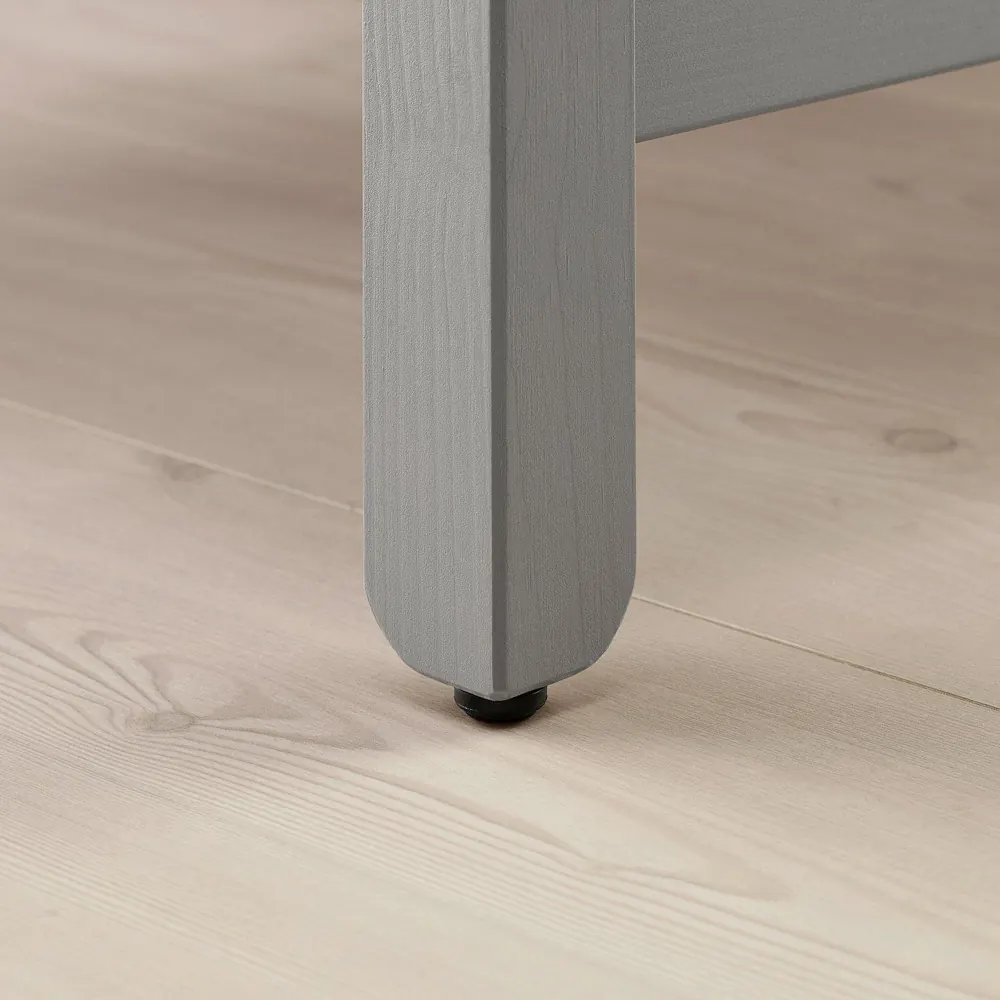
The leg detail below shows a small foot beneath the wood leg. When checking a table’s base, look for feet or braces that could extend farther than expected, and include a nearby rug in the placement trial. Follow the model’s assembly and installation instructions before putting it into use.
Keep the storage job modest enough for the space. A console can provide a landing surface and a basket for small belongings, but changing shoes calls for a different arrangement. The wood entryway bench guide covers seated shoe changing, including the room needed for knees and feet in front of the storage.
Make a hallway console shortlist from the measurements
After those checks, a small comparison sheet makes the buying decision clearer. Record each candidate’s installed projection, usable length, top height and storage access. IKEA identifies the illustrated HAVSTA as solid pine. Check another model’s own specification, since a similar gray finish doesn’t establish what’s beneath it.
| What the hallway trial reveals | What to compare next |
|---|---|
| The walking route feels cramped along the whole table | A shallower top and base, including the rear gap |
| The door reaches only the table’s end | A shorter console or another position on the wall |
| Keys fit, but the lamp pushes everything forward | A smaller lamp arrangement or lighting elsewhere |
| Baskets fit closed but are awkward to remove | Smaller containers or storage outside the hallway |
| The top is inconvenient to reach | Another height tested with the same daily objects |
Keep that sheet beside the product photographs. Before buying, repeat the arrival that matters most: come through the door with your usual bag, put down your keys and continue into the house. Choose the console that lets those movements happen comfortably with its planned contents in place. More room-by-room ideas are available at Wood Center.