WOODEN FURNITURE & HOME
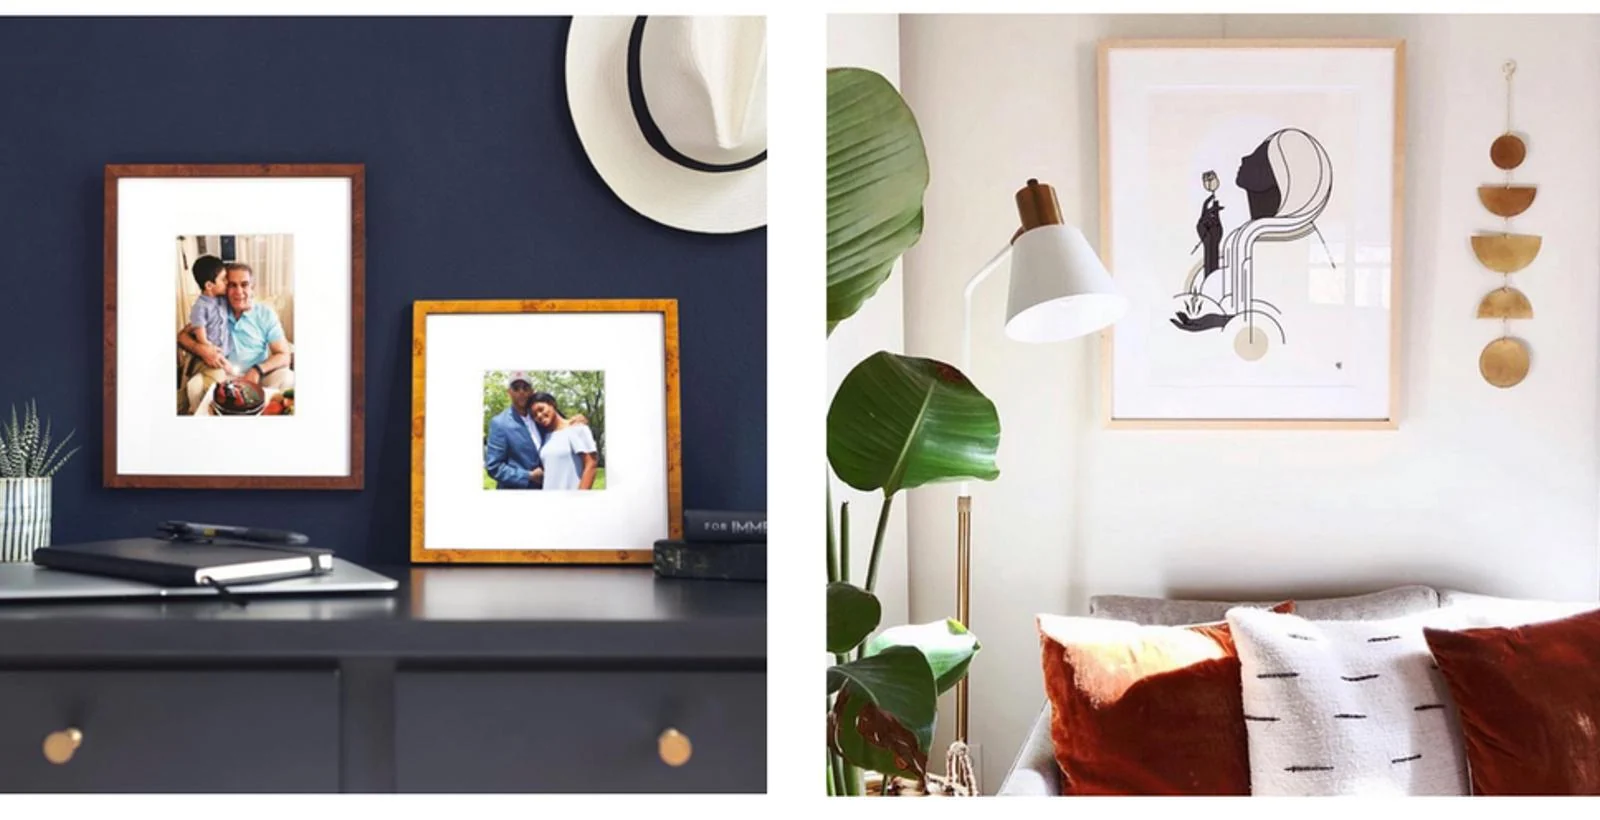
Choosing wooden picture frames gets easier when you start with the picture, then check the wall. Pick a finish that supports the image’s colors, a frame width that gives it the right visual weight, and a mat that leaves important details visible. Before ordering, separate the artwork size from the frame’s finished outside dimensions; they answer different questions.
For a small photo, the mat may make more difference than the timber color. For a large, busy print, a plain frame may be all the border it needs. Work through those decisions with the actual picture beside you.
Choose a wood tone beside the artwork first
Place a frame sample or swatch beside the picture before comparing it with your furniture. A pale frame can keep a light drawing quiet; a medium brown can echo warm areas in a landscape; a dark border can give a pale photograph a stronger edge. These are starting points for comparison, rather than rules attached to a particular art style.
Look at the palest and darkest areas of the image. If a dark frame pulls attention away from a delicate pencil line, try a lighter finish or add a pale mat between them. If a pale frame disappears against both the print and wall, compare a deeper tone before assuming that you need a wider frame.
Wood names alone are poor color guides. Compare the actual finish shown or supplied: two frames described as natural wood can have different yellow, pink or gray casts. Screen settings and room lighting also complicate the comparison. Where samples are available, look at one against your wall in daylight and with the lamps you normally use.
The wider room can supply a connection without requiring an exact furniture match. A frame might repeat the brown of a cabinet while using a smoother surface. For the surrounding room, compare the finishes using these wood decorating principles, then bring your attention back to the picture.
Compare picture frame face width and side depth
After color, compare the amount of border you see from the front. A narrow, flat face leaves more attention on the image. A broad face introduces a larger area of wood, so its grain and finish become a stronger part of the composition. A small picture can carry a broad frame, but choose that effect deliberately.
Profile describes the frame’s shape. Flat profiles give a relatively simple outline; rounded edges soften it; stepped or carved profiles introduce additional lines. If the art already contains dense patterns, compare it in a plain profile before adding another busy border.
The black frame below creates a distinct edge around a pale mat. The photograph illustrates the border’s visual weight, rather than establishing the frame’s material or dimensions.
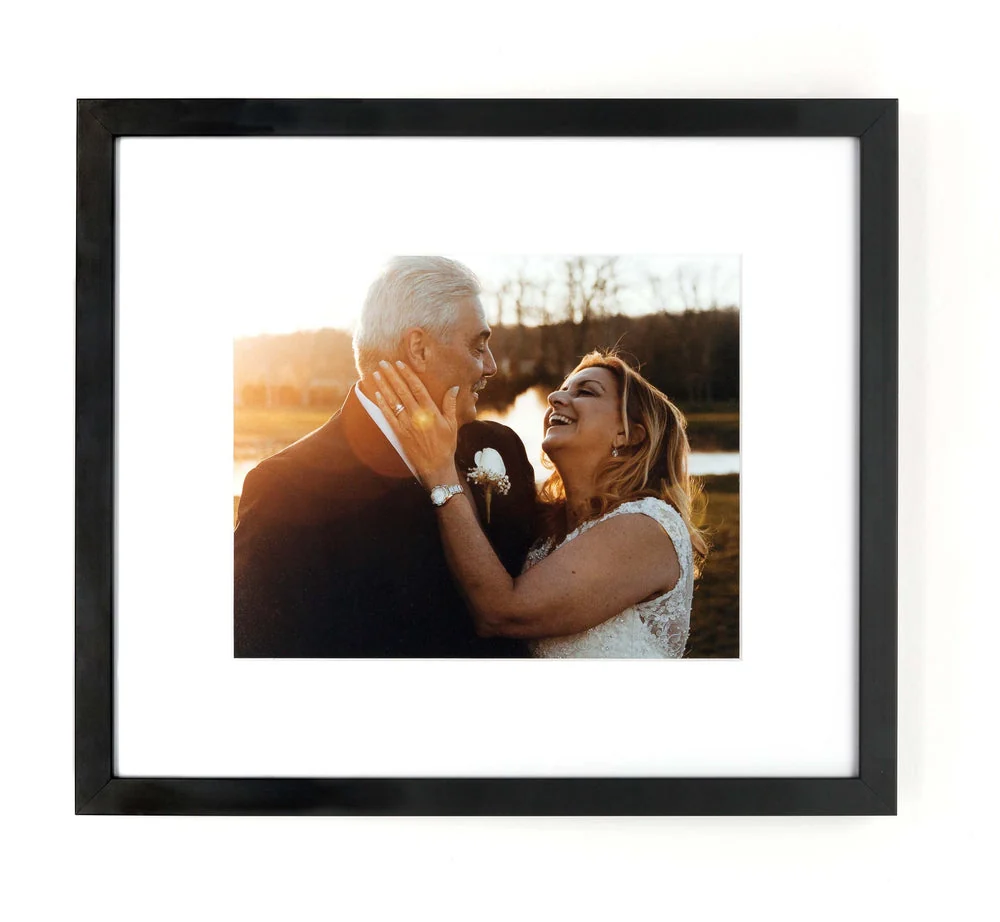
Side depth is a separate measurement from face width. Check the product’s side view if the frame will project into a narrow passage or sit on a small surface. For a tabletop frame, confirm that the supplied support works in your chosen portrait or landscape orientation. A wall-hanging option does not automatically include a standing back. If you prefer a ledge display, check the usable depth and frame limits in the picture frame shelf guide.
Read the picture frame size and mat opening separately
Once the style feels right, check fit before checking price. Record the full paper or photograph dimensions, including any border you want to preserve. Then read the seller’s size description carefully: a frame may be described by the artwork it accepts, while a matted version accommodates a smaller image.
Keep these measurements separate:
| Measurement | What to verify before buying |
|---|---|
| Artwork size | Full width and height of the paper or photo |
| Mat opening | The visible window, including whether it covers an edge or signature |
| Mat outside size | The size that must fit inside the selected frame |
| Finished frame size | The outside width and height that occupy space on the wall |
The art opening differs from the finished frame size, which changes with the selected style. Use the actual product specifications for your purchase rather than transferring one frame’s outside dimensions to another.
For a simple planning example, an 8 × 10-inch image centered within an 11 × 14-inch mat has nominal borders of 1.5 inches at the sides and 2 inches at the top and bottom. That arithmetic describes a layout, not a cutting specification: the actual window may overlap the image edges. Ask for the exact opening if the photograph has important details near its perimeter.
Use a picture frame mat to control empty space
With the measurements clear, choose how much breathing room the picture needs. A mat is the board border between the image and frame. A broad pale border can give a small photograph a larger presence without enlarging the photograph itself; a narrower border keeps the image more prominent within the finished piece.
The brown frame in this room surrounds a landscape photograph with a substantial white border. That separation gives the frame and picture distinct edges against the light wall.
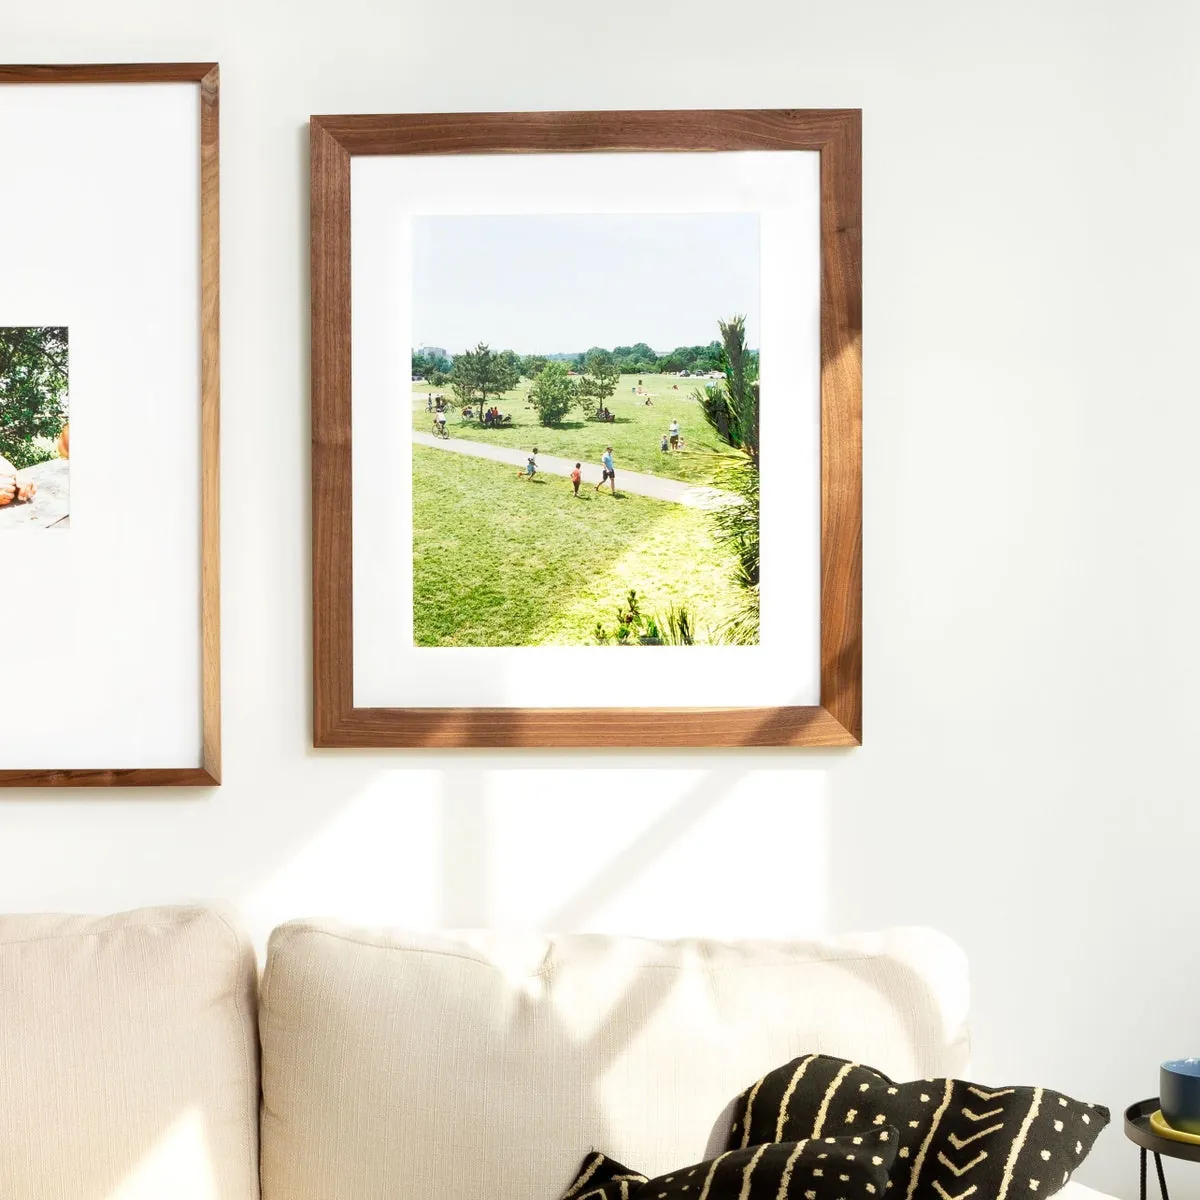
Compare white and off-white beside the paper, especially for older prints or cream backgrounds. A bright white mat may make a warm paper border more noticeable. A close tonal match can create a quieter transition. Neither needs to match the wall paint exactly. When the frame sits among tabletop objects, these wood accessory arrangements help keep the picture distinct from the surrounding display.
If you prefer an uneven border, specify it rather than assuming the opening will be centered. A bottom-weighted mat has extra space below the artwork. Preview the full arrangement before ordering; that extra space changes the image’s position inside the frame.
Arrange wall frames around one repeated feature
The finished outside dimensions now give you a realistic layout. For a group, choose one feature to repeat: frame finish, mat color, outside size or alignment. Repeating every feature creates a formal grid; repeating just one allows more variation without making each picture feel unrelated.
Three brown frames above this bed share their border color and tall proportions. Their images differ, while the pale mats give the group a consistent rhythm against the dark wall.
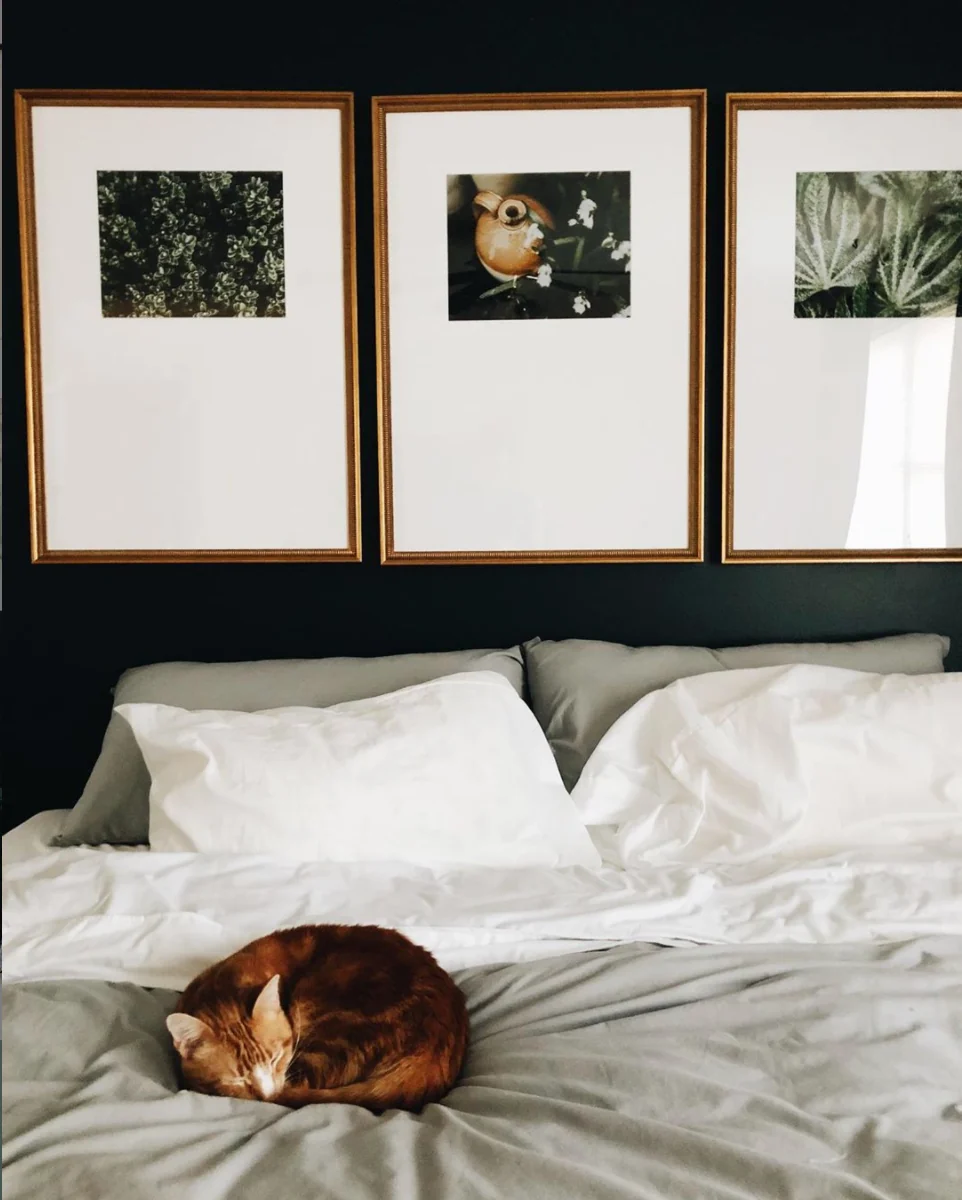
Cut paper templates to the finished frame dimensions and compare the group on the wall before choosing positions. Keep gaps consistent if you want an orderly row. For mixed sizes, try aligning a shared top edge or arranging the frames around a larger central picture. Choose the relationship you can actually see from the doorway and usual seat. If you are choosing a wood panel instead of a framed print, compare finished scrap wood wall art by its pattern and viewing distance.
Before ordering, check the frame finish, face width, outside dimensions, mat window and intended display orientation together. A frame that looks right in a close-up still needs to fit the image and the place where you will see it every day. Above an entry table, plan the console footprint and tabletop objects before settling the wall arrangement.