WOODEN FURNITURE & HOME
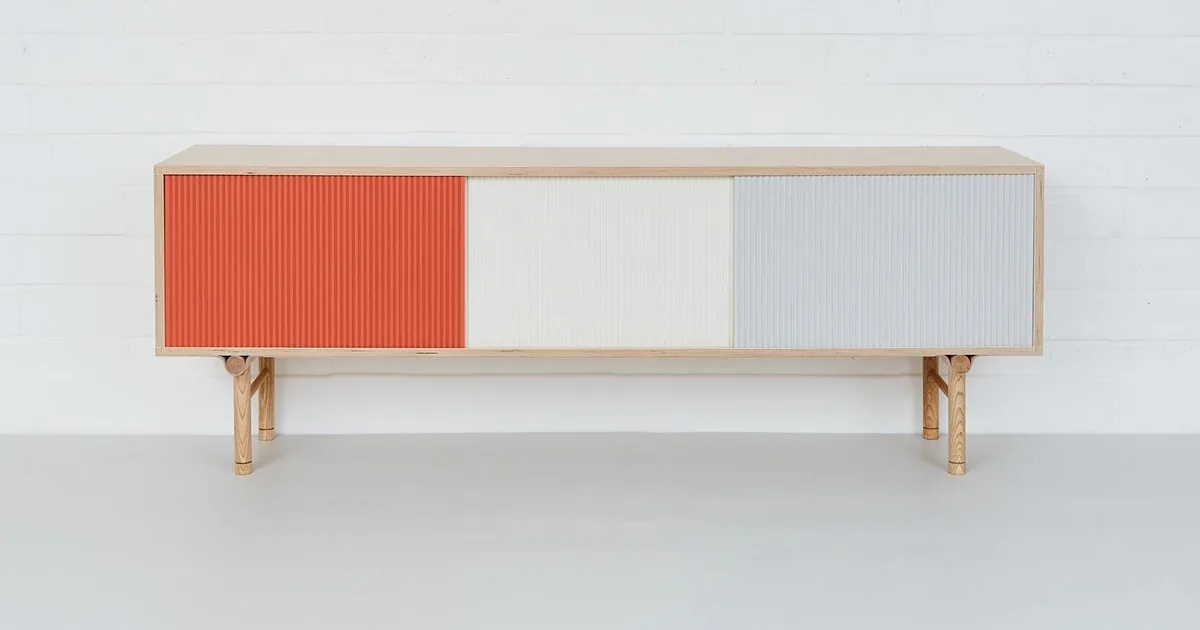
To paint plywood furniture smoothly, fill surface defects, sand without cutting through the face veneer, and apply a compatible primer and paint system; give the exposed layers at the edges their own preparation, since a smooth face can still leave a rough-looking shelf front. The work below follows the panel from bare wood to a painted finish, with checks before each new coat.
Gather materials for bare plywood furniture
Have the plywood, a paintable and sandable filler, a spreading knife, suitable abrasives, a sanding block, and dust-removal supplies ready. You’ll also need a primer approved for bare wood and your chosen paint, plus the brushes, roller or sprayer their instructions allow. Pick a furniture or cabinet coating suited to the piece’s intended use.
Read the filler, primer and paint directions together before opening a can. Check the permitted substrates, sanding requirements, application method, recoating window and return-to-use guidance. Different brand names aren’t automatically a problem, but the layers need to be compatible; matching water cleanup alone doesn’t establish that.
Start with dry, sound plywood. Look at the cut edge and the manufacturer’s description to identify the face. A plastic or melamine facing needs a different preparation plan; the guide to painting laminate furniture covers that distinction.
If the panel has loose layers or damaged joints, resolve those before cosmetic coating. The furniture care and makeover overview helps separate a surface repair from a problem with the piece itself.
1. Fill plywood face defects and exposed edge voids
Inspect the broad faces for small dents and fastener holes, then examine each edge that will remain visible. Work a suitable filler into those local defects with the tool its directions specify. Respect the product’s repair-depth limits, and let it become ready for sanding before leveling the patch.
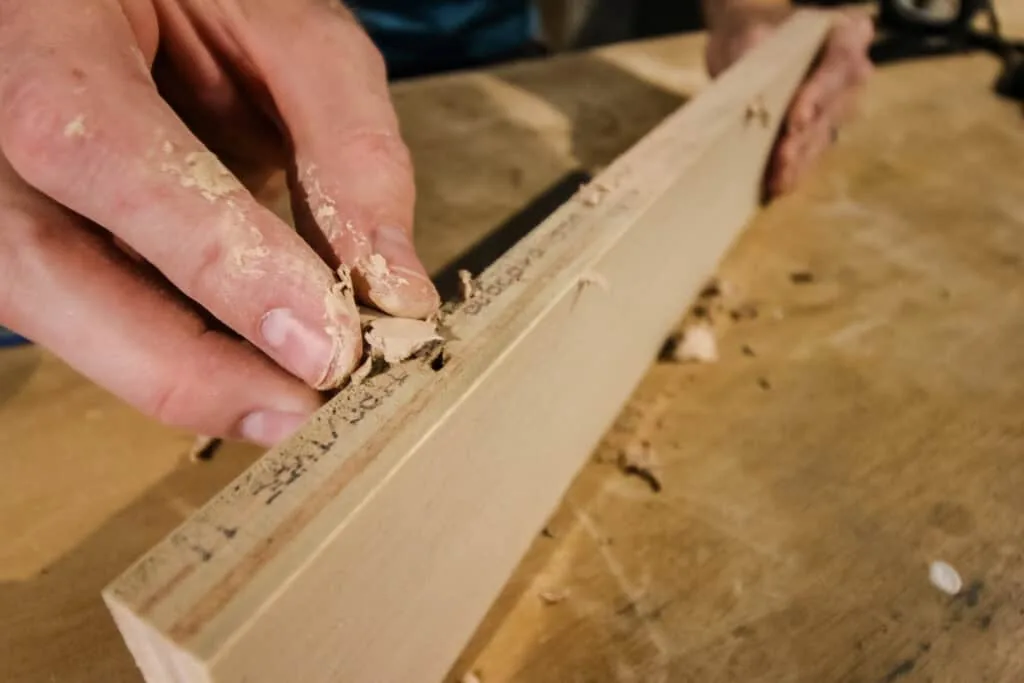
The edge needs checking along its length, rather than just at the largest hole. Don’t ask a thick coat of paint to bridge an open void. If the dried patch sinks, follow the filler instructions for another application before proceeding.
The repair material should harden and permit the intended coating. A soft touch-up putty isn’t interchangeable with a sandable patch; compare wood filler and wood putty if the product names leave that unclear.
Choose the edge’s appearance at this stage: filler can prepare it for paint, while banding or trim adds a covering, and the plywood edge finishing guide explains those options if you want a different border around the panel.
2. Sand the plywood face without thinning the veneer
Once the filler is ready, level the repairs and prepare the surrounding face to the coating maker’s instructions. Keep removal light on the face veneer, especially beside edges and corners. An already smooth panel doesn’t need an aggressive starting grit simply because rougher construction plywood would.
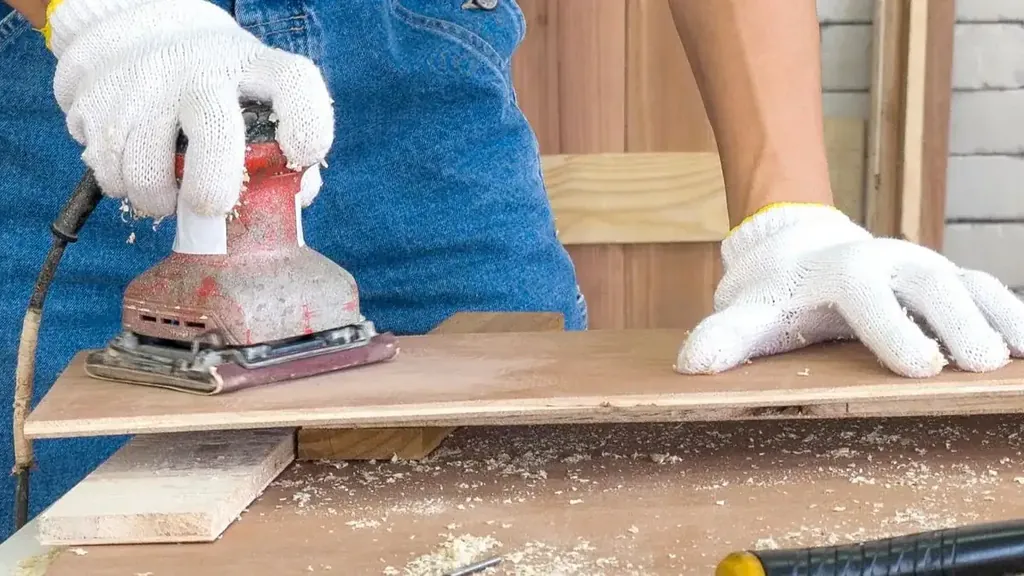
Support the work securely and keep a powered sanding pad flat, using the tool’s instructions for movement and pressure. Use controlled hand sanding where a pad cannot stay supported. Chasing a deep scratch through the thin face creates a larger repair instead of a smoother panel.
Remove dust from faces, edges and inside corners using the cleaning method allowed by the coating. Let any permitted damp cleaning dry before priming. A clean palm isn’t a substitute for checking the surface under light falling across it: look for ridges around filler, scratches and remaining loose fibers.
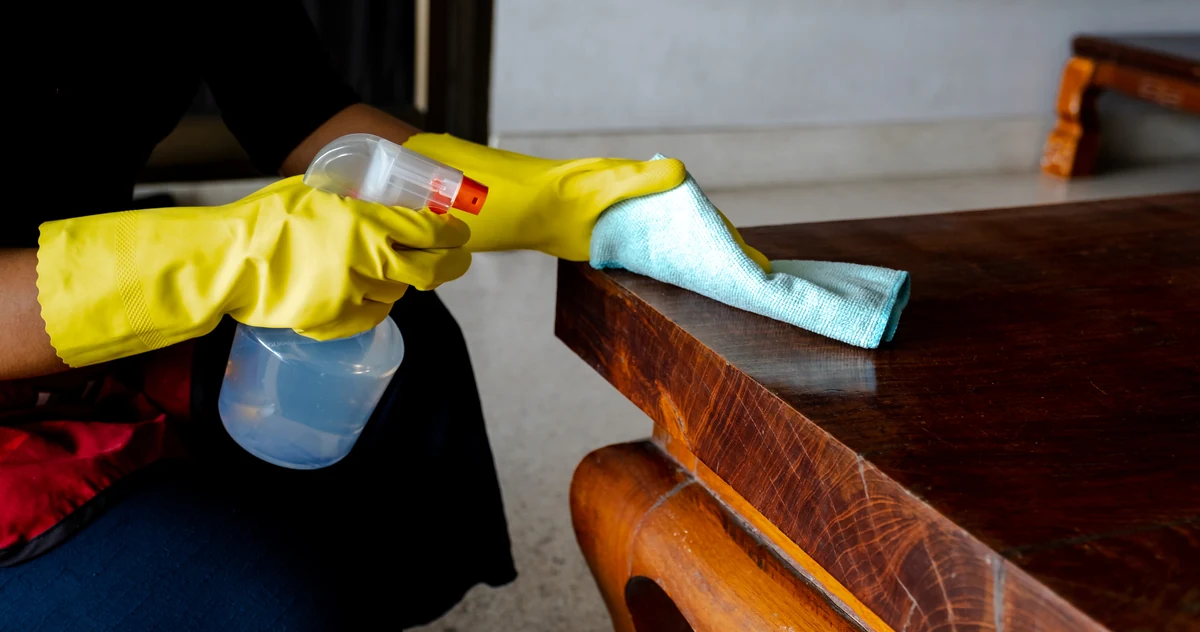
Use suitable dust extraction and protective equipment for sanding, and follow the coating’s ventilation and protection instructions during application. These photographs show separate third-party projects; they aren’t Wood Center tests or a complete specification for equipment and protection.
3. Prime the plywood face and edges as one surface
With the dust removed, apply the chosen primer to the prepared face and exposed edges according to its directions. Priming helps seal a porous surface and prepare it for the paint. Include filled areas and narrow edges in the plan instead of treating the large face as the whole job.
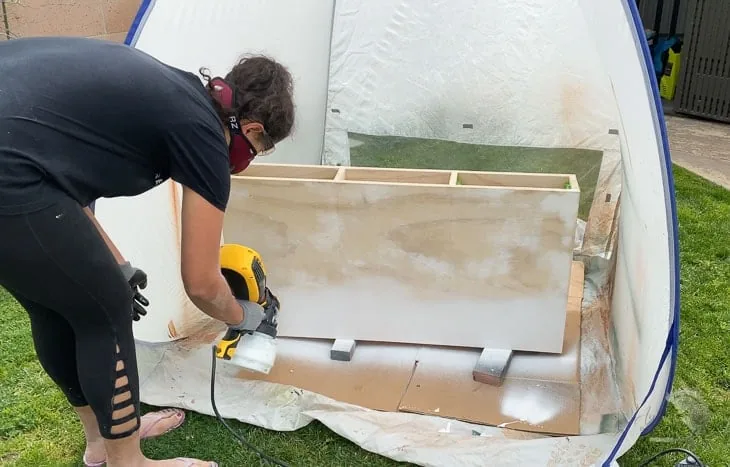
Choose a primer rated for the substrate, filler and finish coat. Where knots or staining need attention, check whether the specified primer provides the required stain blocking. A general bonding claim and a stain-blocking claim answer different questions.
After the prescribed drying period, inspect the primed panel before adding color. A pale, even background makes edge pits, raised fibers and patch outlines easier to spot. Correct defects with compatible materials as directed, then prepare and reprime repaired areas when the system requires it.
Use the primer’s instructions for sanding between coats and before paint. Sand only when it’s ready, remove the residue, and check the recoating window. The goal is a prepared layer for the next coating, rather than bare wood showing through again.
4. Paint plywood in the coats the product specifies
Once the primer is ready to overcoat, apply the furniture paint with the approved brush, roller or spray setup. Follow its coverage and coat guidance instead of trying to get full color in one heavy pass. Watch the narrow edges for runs while keeping the broad face evenly coated.
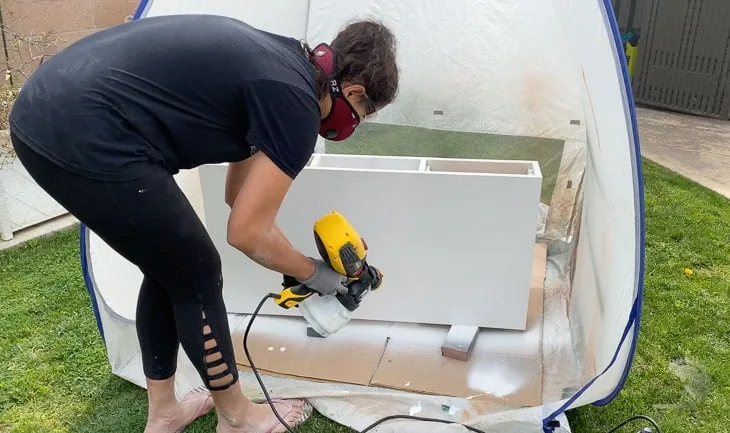
Allow the specified interval before another coat. Sand between coats only as directed, and clean away the residue before continuing. If a run needs correction, follow the paint maker’s repair guidance rather than sanding paint that’s still soft.
Consider sheen before buying the paint. A higher sheen makes small surface flaws more noticeable, so judge a coated sample under the light where the furniture will sit. An offcut that includes a filled edge is more useful than a color sample painted only on a smooth face.
5. Let painted plywood cure before everyday use
After the final coat, keep the piece supported and follow the paint’s drying and return-to-use instructions. Dry to the touch, ready to recoat and fully cured describe different stages. A surface can feel dry before its coating has developed the hardness needed for books, baskets or daily handling.
Record the waiting periods from the exact products you’ve used. Keep their stated conditions with those times, and check the maker’s guidance when the room is cooler or more humid. There isn’t one reliable overnight rule for every furniture paint.
Before fitting hardware, closing freshly painted doors or loading a shelf, check the relevant handling and service guidance. A finished photograph cannot establish that the waiting period is over. Give the last coat the time it needs, then bring the piece into use under the conditions its paint allows.
For more wooden furniture, storage and decorating projects, browse Wood Center.